How to Use Lamp: Examples, Pinouts, and Specs
Introduction
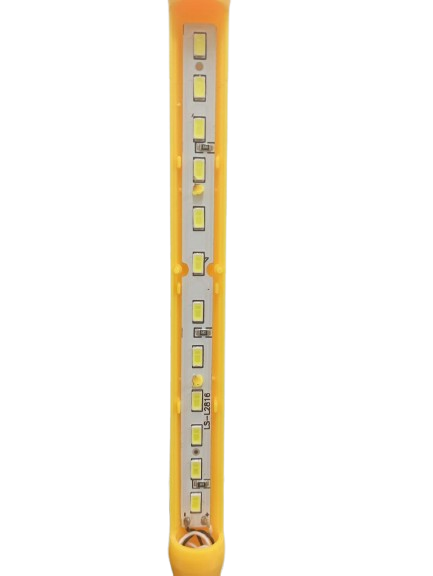
A lamp is a device that produces light when an electric current passes through it. It is one of the most commonly used components for illumination in residential, commercial, and industrial applications. Lamps come in various types, such as incandescent, LED, fluorescent, and halogen, each suited for specific use cases. They are widely used in lighting systems, decorative fixtures, signaling devices, and more.
Explore Projects Built with Lamp

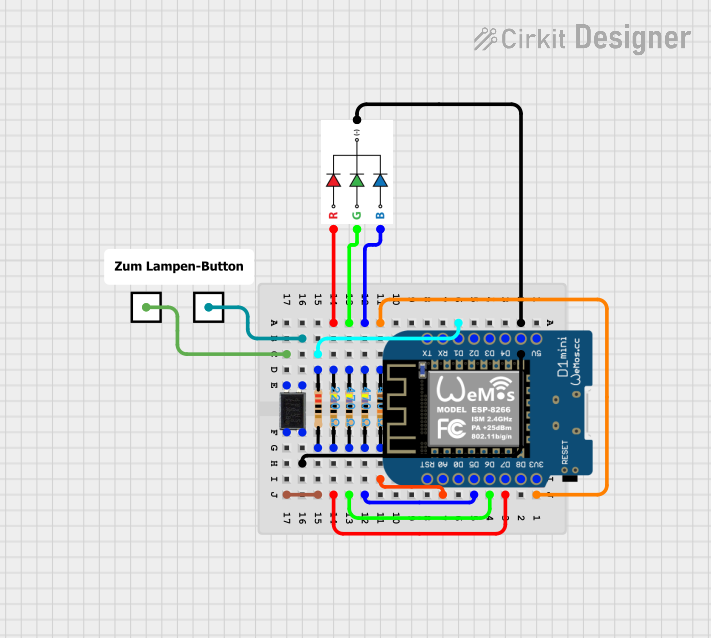


Explore Projects Built with Lamp
Technical Specifications
The technical specifications of a lamp can vary depending on its type and design. Below are general specifications for a standard LED lamp, which is one of the most commonly used types:
General Specifications
| Parameter | Value |
|---|---|
| Operating Voltage | 3V to 12V (varies by type) |
| Current Consumption | 10mA to 100mA (typical) |
| Power Rating | 0.5W to 10W (varies by type) |
| Light Output (Lumen) | 50 lm to 1500 lm |
| Color Temperature | 2700K (warm) to 6500K (cool) |
| Lifespan | 15,000 to 50,000 hours |
Pin Configuration and Descriptions
For a basic two-terminal lamp (e.g., LED or incandescent), the pin configuration is as follows:
| Pin Name | Description |
|---|---|
| Anode (+) | Positive terminal; connects to the power supply or resistor. |
| Cathode (-) | Negative terminal; connects to ground or the negative side of the power supply. |
Note: For polarized lamps like LEDs, ensure correct polarity to avoid damage.
Usage Instructions
How to Use the Lamp in a Circuit
Determine the Operating Voltage and Current:
- Check the lamp's datasheet or packaging for its voltage and current requirements.
- For LEDs, use a current-limiting resistor to prevent overcurrent.
Connect the Lamp:
- For a basic circuit, connect the anode (+) to the positive terminal of the power supply.
- Connect the cathode (-) to the ground or negative terminal of the power supply.
Use a Resistor (if required):
- Calculate the resistor value using Ohm's Law:
( R = \frac{V_{supply} - V_{lamp}}{I_{lamp}} )
Where ( V_{supply} ) is the supply voltage, ( V_{lamp} ) is the lamp's forward voltage, and ( I_{lamp} ) is the lamp's current.
- Calculate the resistor value using Ohm's Law:
Test the Circuit:
- Power on the circuit and verify that the lamp lights up. If it does not, check the connections and polarity.
Example: Connecting an LED Lamp to an Arduino UNO
Below is an example of how to connect and control an LED lamp using an Arduino UNO:
Circuit Setup
- Connect the anode (+) of the LED to a 220-ohm resistor.
- Connect the other end of the resistor to digital pin 13 on the Arduino.
- Connect the cathode (-) of the LED to the Arduino's GND pin.
Arduino Code
// This code blinks an LED connected to pin 13 of the Arduino UNO

void setup() {
  pinMode(13, OUTPUT); // Set pin 13 as an output pin
}

void loop() {
  digitalWrite(13, HIGH); // Turn the LED on
  delay(1000);            // Wait for 1 second
  digitalWrite(13, LOW);  // Turn the LED off
  delay(1000);            // Wait for 1 second
}
Important Considerations and Best Practices
- Polarity: Ensure correct polarity for polarized lamps like LEDs.
- Resistors: Always use a current-limiting resistor with LEDs to prevent damage.
- Heat Management: For high-power lamps, ensure proper heat dissipation to avoid overheating.
- Voltage Matching: Do not exceed the lamp's rated voltage to prevent failure.
Troubleshooting and FAQs
Common Issues and Solutions
Lamp Does Not Light Up:
- Cause: Incorrect polarity or loose connections.
- Solution: Verify the connections and ensure the anode is connected to the positive terminal.
Lamp Flickers:
- Cause: Insufficient power supply or loose connections.
- Solution: Check the power supply voltage and ensure all connections are secure.
Lamp Burns Out Quickly:
- Cause: Overvoltage or lack of a current-limiting resistor (for LEDs).
- Solution: Use a resistor and ensure the supply voltage matches the lamp's rating.
LED Glows Dimly:
- Cause: Insufficient current or incorrect resistor value.
- Solution: Recalculate the resistor value and ensure the power supply provides adequate current.
FAQs
Q: Can I connect a lamp directly to a battery?
A: Yes, but only if the battery voltage matches the lamp's rated voltage. For LEDs, always use a current-limiting resistor.
Q: How do I choose the right resistor for an LED lamp?
A: Use Ohm's Law to calculate the resistor value based on the supply voltage, LED forward voltage, and current.
Q: Can I use a lamp with an AC power source?
A: Yes, but ensure the lamp is designed for AC operation. For LEDs, use a rectifier circuit to convert AC to DC.
Q: Why does my LED lamp get hot?
A: High-power LEDs can generate heat. Use a heatsink or proper ventilation to manage heat dissipation.