How to Use ESP-01: Examples, Pinouts, and Specs
Introduction
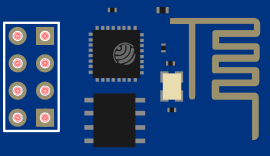
The ESP-01 is a compact Wi-Fi module that enables microcontrollers to connect to a Wi-Fi network. Based on the ESP8266 SoC (System on Chip), it is a popular choice for Internet of Things (IoT) projects due to its low cost and ease of use. The module can be programmed using the Arduino IDE, which makes it accessible for hobbyists and professionals alike. Common applications include home automation, sensor networks, and wireless data logging.
Explore Projects Built with ESP-01
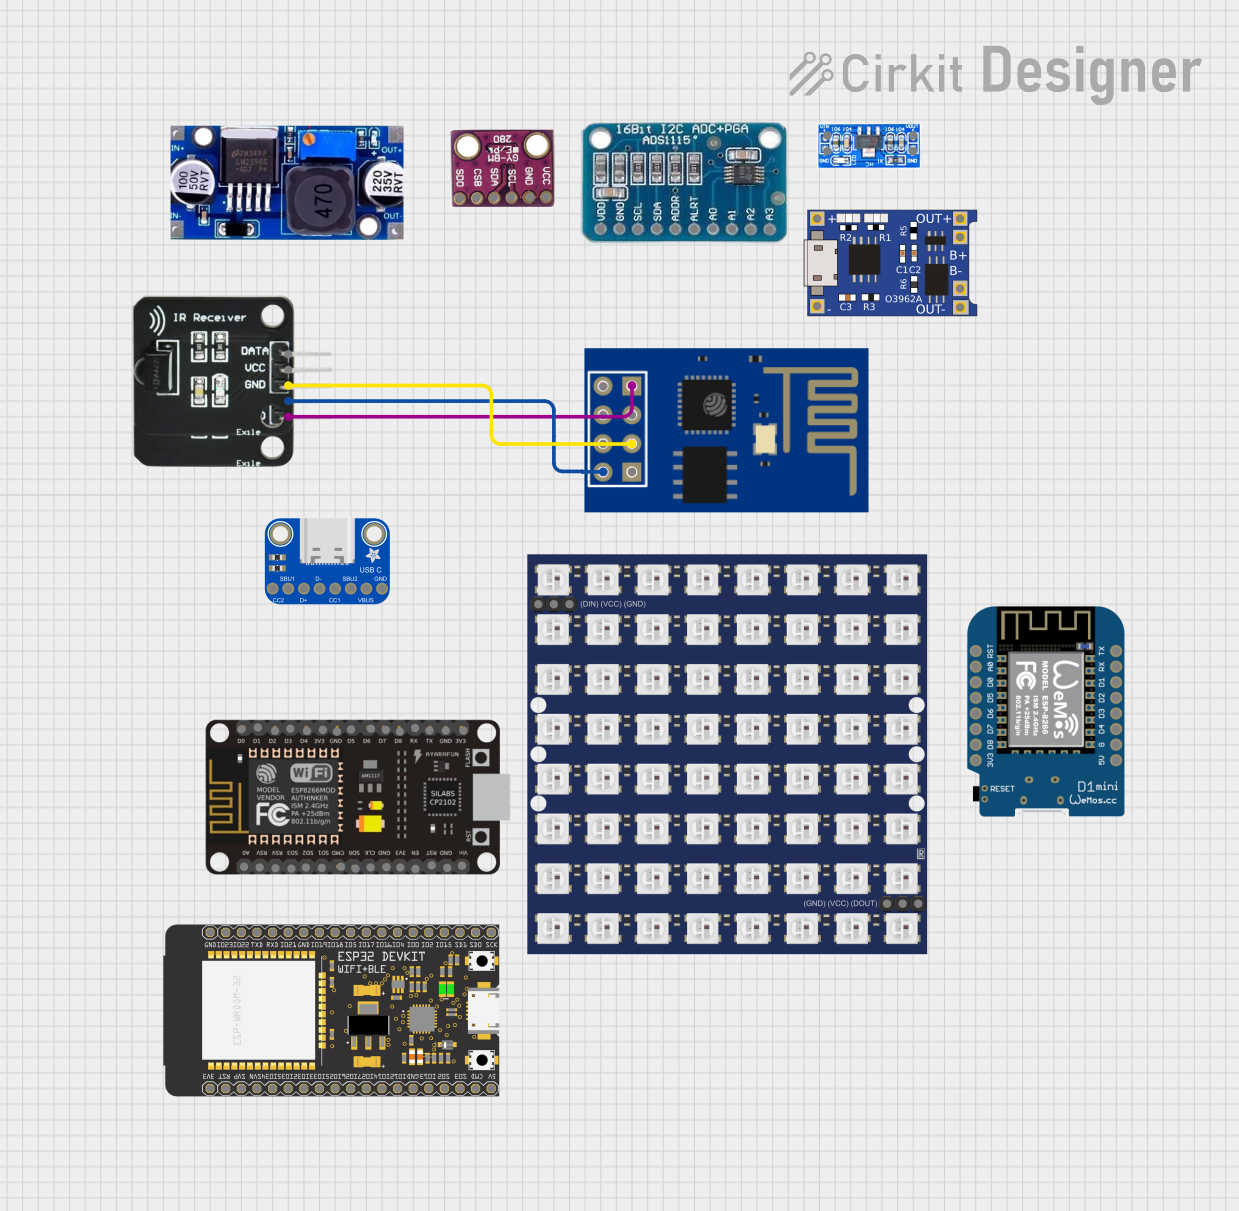


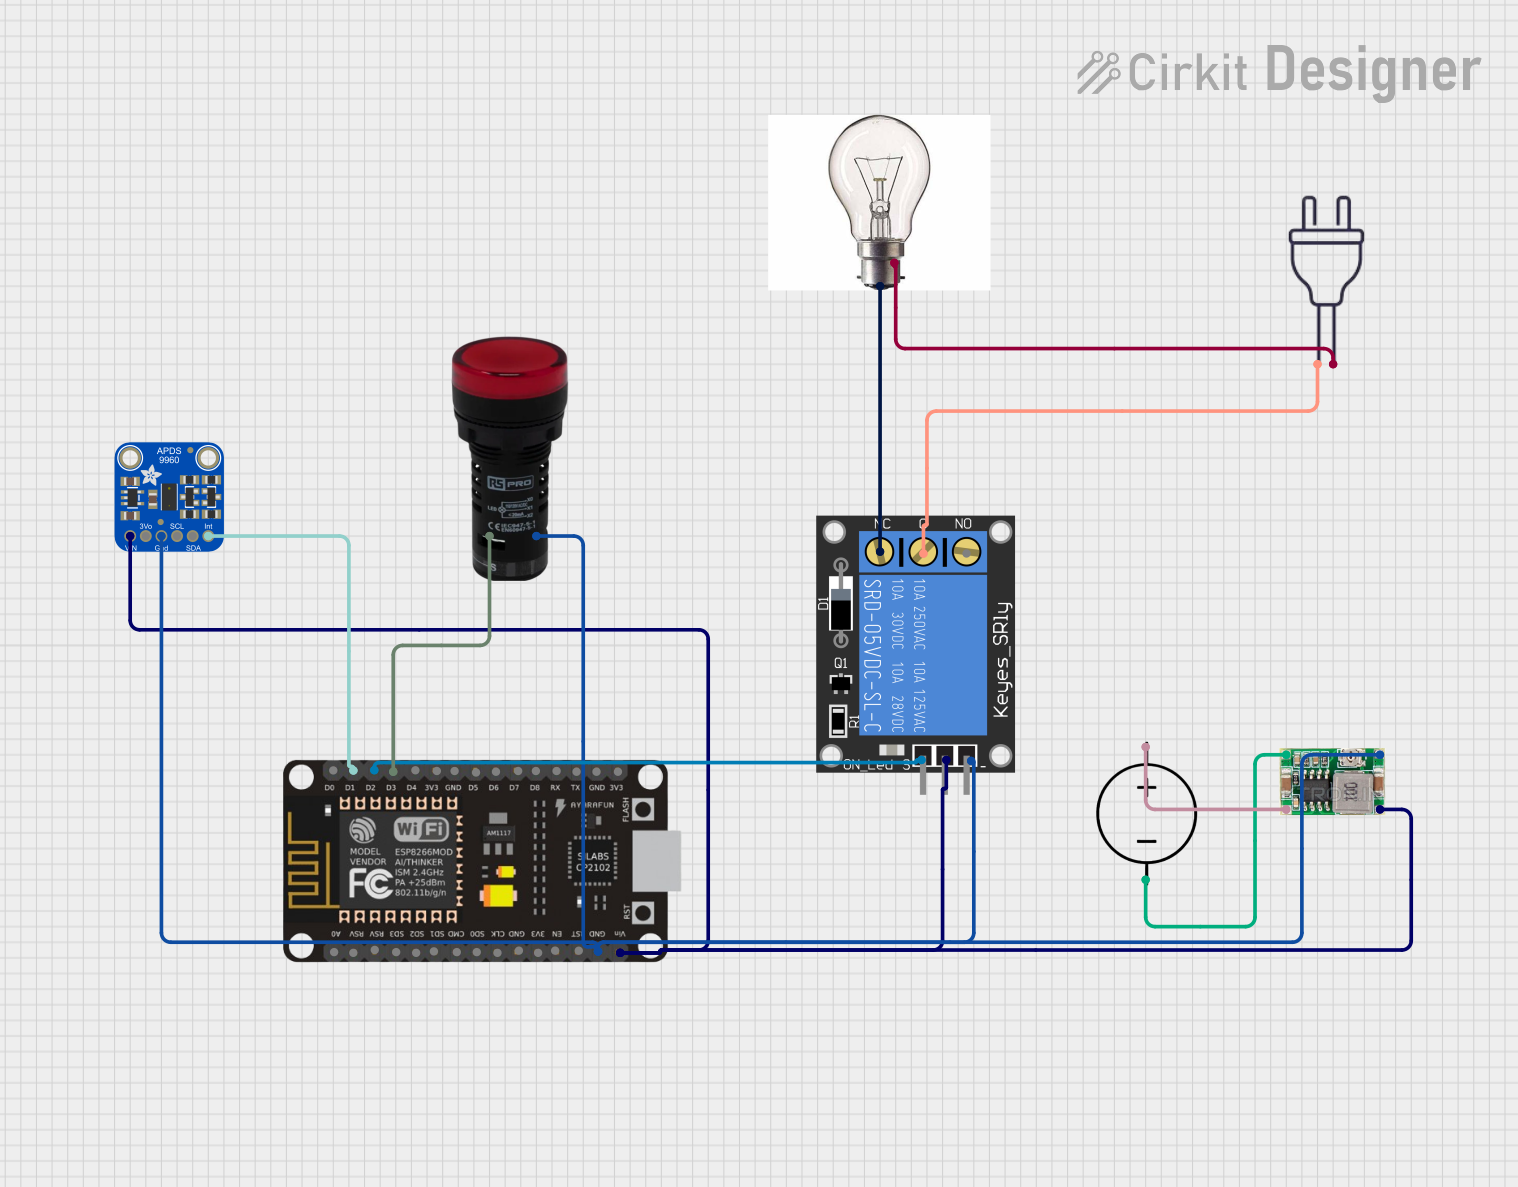
Explore Projects Built with ESP-01
Technical Specifications
Key Technical Details
- Wi-Fi Protocol: IEEE 802.11 b/g/n
- Frequency Range: 2.4 GHz
- Operating Voltage: 3.0V to 3.6V
- Average Operating Current: 80 mA
- Peak Operating Current: 300 mA (during Wi-Fi transmission)
- Serial/UART Baud Rate: 115200 bps (default)
- Flash Memory: 1MB (default)
- GPIO Pins: 2 usable GPIOs (GPIO0 and GPIO2)
Pin Configuration and Descriptions
| Pin Number | Name | Description |
|---|---|---|
| 1 | GND | Ground |
| 2 | GPIO2 | General Purpose Input/Output 2 |
| 3 | GPIO0 | General Purpose Input/Output 0 |
| 4 | RX | UART Receive Pin |
| 5 | TX | UART Transmit Pin |
| 6 | CH_PD | Chip Power-Down, active high |
| 7 | RST | Reset Pin, active low |
| 8 | VCC | Power Supply (3.0V to 3.6V) |
Usage Instructions
Integrating ESP-01 with a Circuit
- Power Supply: Connect the VCC and GND pins to a stable 3.3V power source. Do not exceed 3.6V to avoid damaging the module.
- Boot Mode: For normal operation, GPIO0 must be high (connected to VCC). To enter programming mode, GPIO0 must be low (connected to GND) during power-up.
- Serial Communication: Connect the RX and TX pins to a USB-to-Serial converter or the corresponding TX and RX pins of a microcontroller, ensuring cross-connection (RX to TX and TX to RX).
- Enabling the Chip: The CH_PD pin must be connected to VCC to enable the chip.
- Resetting the Module: The RST pin can be momentarily connected to GND to reset the module.
Programming with Arduino IDE
- Install the ESP8266 board package in the Arduino IDE.
- Select the correct board (Generic ESP8266 Module) and port from the Tools menu.
- Write or upload your code to the ESP-01 using a USB-to-Serial adapter with the appropriate connections.
Best Practices
- Use a 3.3V regulator to ensure a stable power supply.
- Add a 10kΩ pull-up resistor to CH_PD to ensure the module powers up correctly.
- Include a 100nF to 1μF capacitor close to the power pins to filter out noise.
- Use a logic level converter if interfacing with 5V logic levels to prevent damage to the ESP-01.
Example Code for Arduino UNO
#include <ESP8266WiFi.h>

// Replace with your network credentials
const char* ssid = "yourSSID";
const char* password = "yourPASSWORD";

void setup() {
  Serial.begin(115200); // Start serial communication at 115200 bps
  WiFi.begin(ssid, password); // Connect to Wi-Fi

  while (WiFi.status() != WL_CONNECTED) {
    delay(500);
    Serial.print(".");
  }

  Serial.println("");
  Serial.println("WiFi connected");
  Serial.println("IP address: ");
  Serial.println(WiFi.localIP()); // Print the local IP address
}

void loop() {
  // Nothing to do here
}
Troubleshooting and FAQs
Common Issues
- Module Does Not Power Up: Ensure the power supply is 3.3V and that CH_PD is connected to VCC.
- Cannot Upload Code: Check that GPIO0 is grounded during power-up to enter programming mode.
- Serial Communication Errors: Verify the baud rate and that RX/TX lines are correctly connected.
Solutions and Tips
- If the module is not responding, try a different power supply or check your wiring.
- Ensure that the Arduino IDE has the correct board settings for the ESP-01.
- For connectivity issues, check the antenna area for any obstructions or soldering issues.
FAQs
Q: Can I use the ESP-01 with a 5V power supply? A: No, the ESP-01 requires a 3.3V power supply. Using 5V can damage the module.
Q: How can I extend the number of GPIOs available on the ESP-01? A: You can use an I/O expander or shift register to increase the number of controllable pins.
Q: Is it possible to use the ESP-01 for deep sleep applications? A: Yes, the ESP-01 supports deep sleep mode for low-power applications, but it requires additional wiring to connect the RST pin to a GPIO for wake-up.
Remember to always follow the manufacturer's datasheet and guidelines for the most accurate and detailed information on the ESP-01 module.