How to Use T-ETH-Elite ESP32-S3 Ethernet Board W5500 Module: Examples, Pinouts, and Specs
Introduction
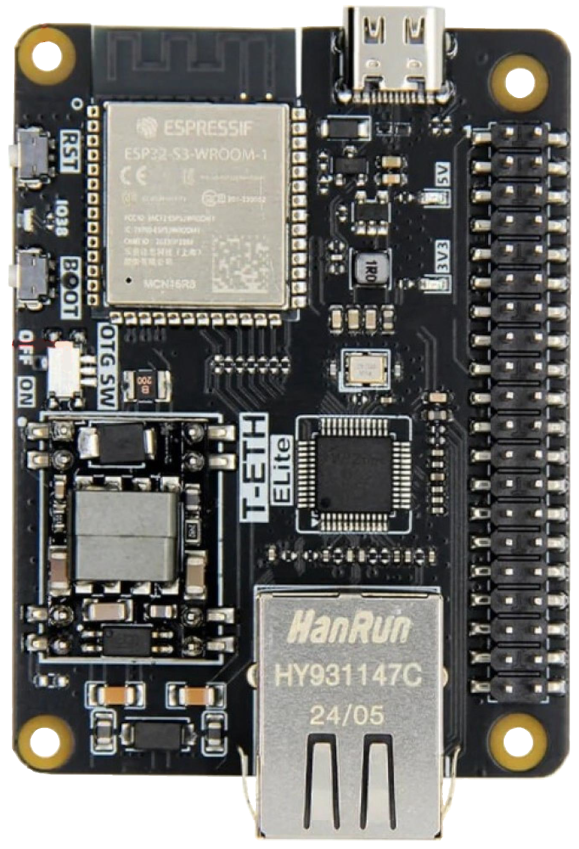
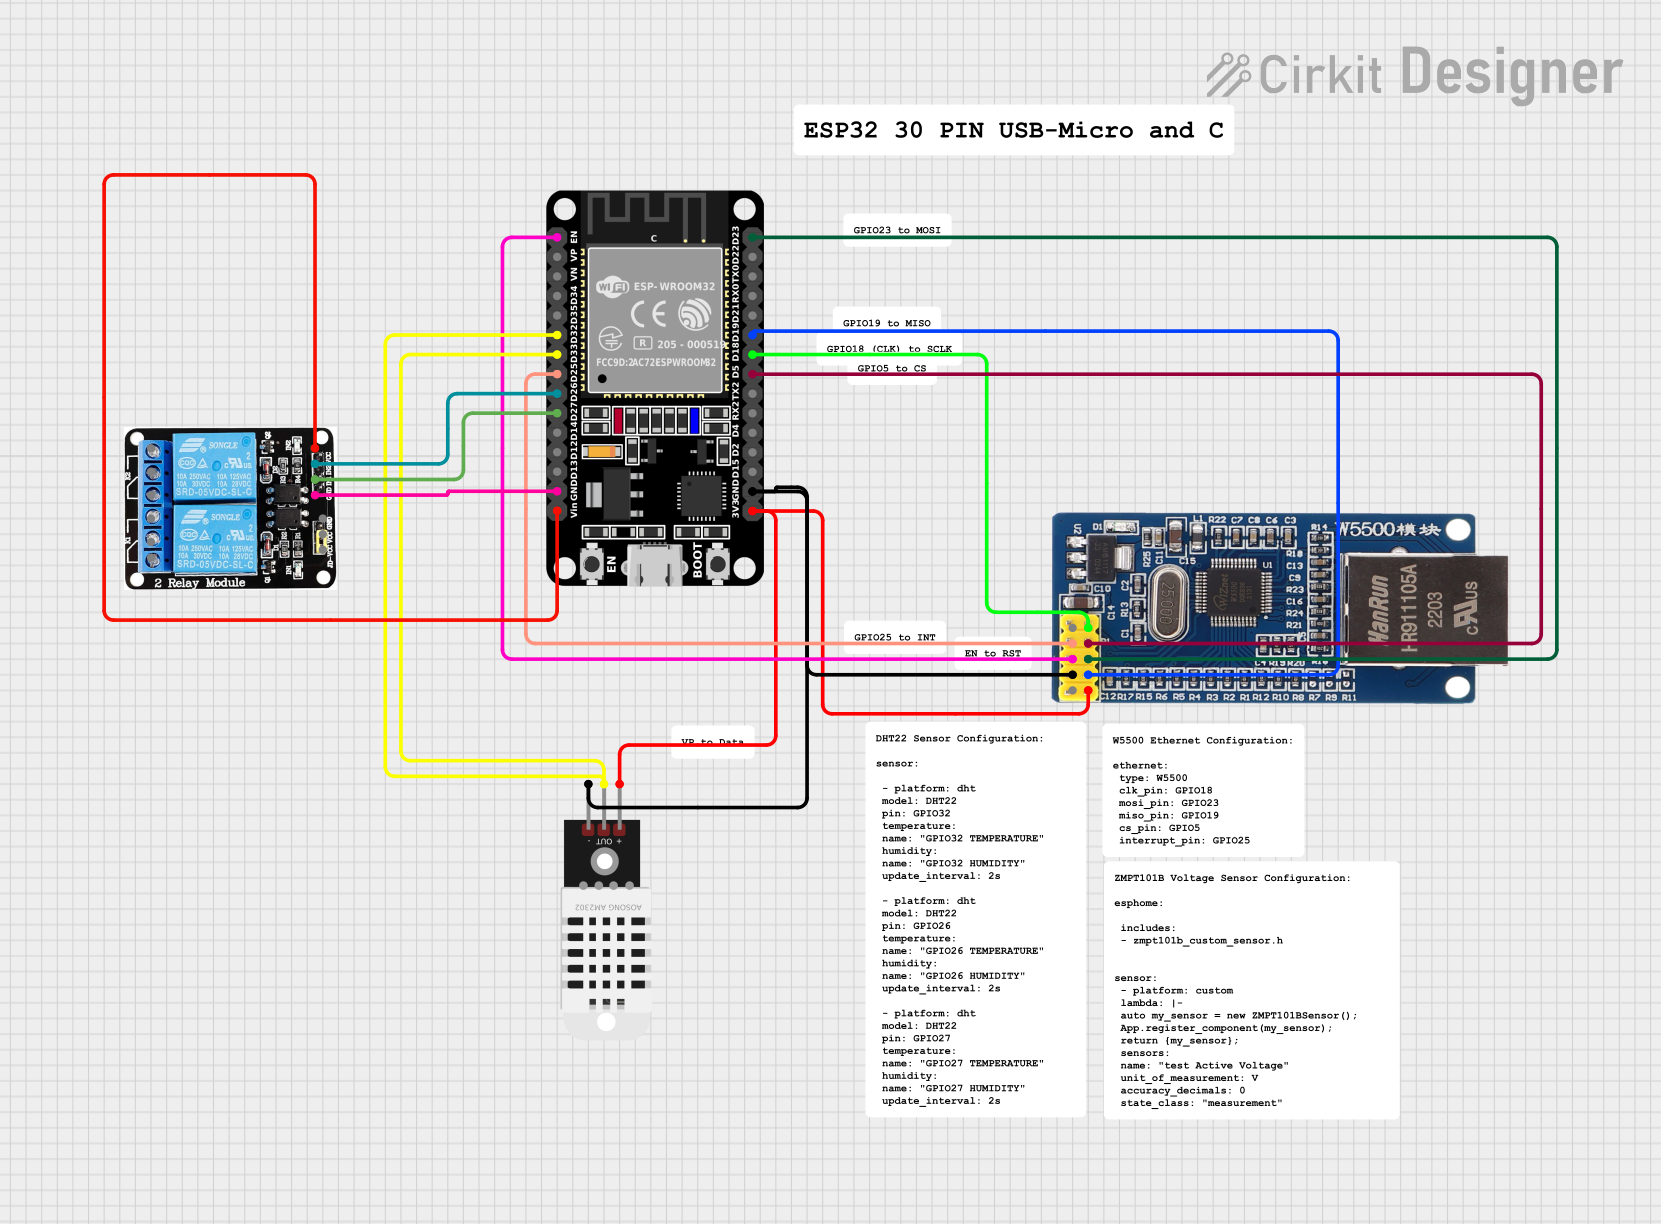
The T-ETH-Elite ESP32-S3 Ethernet Board W5500 Module, manufactured by LILYGO (Part ID: T-ETH-Elite ESP32-S3 (W5500)), is a versatile development board designed for IoT applications. It combines the powerful ESP32-S3 microcontroller, which features integrated Wi-Fi and Bluetooth capabilities, with the W5500 Ethernet module for reliable wired network connectivity. This board is ideal for projects requiring high-speed, stable communication in both wireless and wired environments.
Explore Projects Built with T-ETH-Elite ESP32-S3 Ethernet Board W5500 Module
Explore Projects Built with T-ETH-Elite ESP32-S3 Ethernet Board W5500 Module
Common Applications and Use Cases
- IoT devices requiring dual connectivity (Wi-Fi and Ethernet)
- Smart home automation systems
- Industrial monitoring and control systems
- Data logging and remote sensing
- Networked robotics and automation
- Secure and reliable communication in constrained environments
Technical Specifications
Key Technical Details
| Parameter | Specification |
|---|---|
| Microcontroller | ESP32-S3 (Xtensa® 32-bit LX7 dual-core processor) |
| Clock Speed | Up to 240 MHz |
| Flash Memory | 16 MB |
| PSRAM | 8 MB |
| Connectivity | Wi-Fi 802.11 b/g/n, Bluetooth 5.0, Ethernet (via W5500 module) |
| Ethernet Module | W5500 (10/100 Mbps Ethernet controller) |
| Operating Voltage | 3.3V |
| Input Voltage Range | 5V (via USB-C) |
| GPIO Pins | 21 GPIO pins (configurable for various peripherals) |
| Communication Interfaces | UART, SPI, I2C, I2S, PWM, ADC, DAC |
| USB Interface | USB-C (supports programming and power supply) |
| Dimensions | 60 mm x 25 mm |
| Operating Temperature | -40°C to 85°C |
Pin Configuration and Descriptions
The T-ETH-Elite ESP32-S3 board features a variety of pins for interfacing with peripherals. Below is the pinout description:
| Pin Name | Function | Description |
|---|---|---|
| 3V3 | Power | 3.3V power output |
| GND | Ground | Ground connection |
| GPIO0 | Boot Mode / General Purpose I/O | Used for boot mode selection or general-purpose input/output |
| GPIO1-21 | General Purpose I/O | Configurable for UART, SPI, I2C, PWM, ADC, or DAC |
| TXD0 | UART Transmit | UART0 transmit pin |
| RXD0 | UART Receive | UART0 receive pin |
| MOSI | SPI Master Out Slave In | SPI data output from master |
| MISO | SPI Master In Slave Out | SPI data input to master |
| SCK | SPI Clock | SPI clock signal |
| CS | SPI Chip Select | SPI chip select signal for W5500 Ethernet module |
| ETH_RST | Ethernet Reset | Resets the W5500 Ethernet module |
| USB-C | USB Interface | USB-C port for programming and power supply |
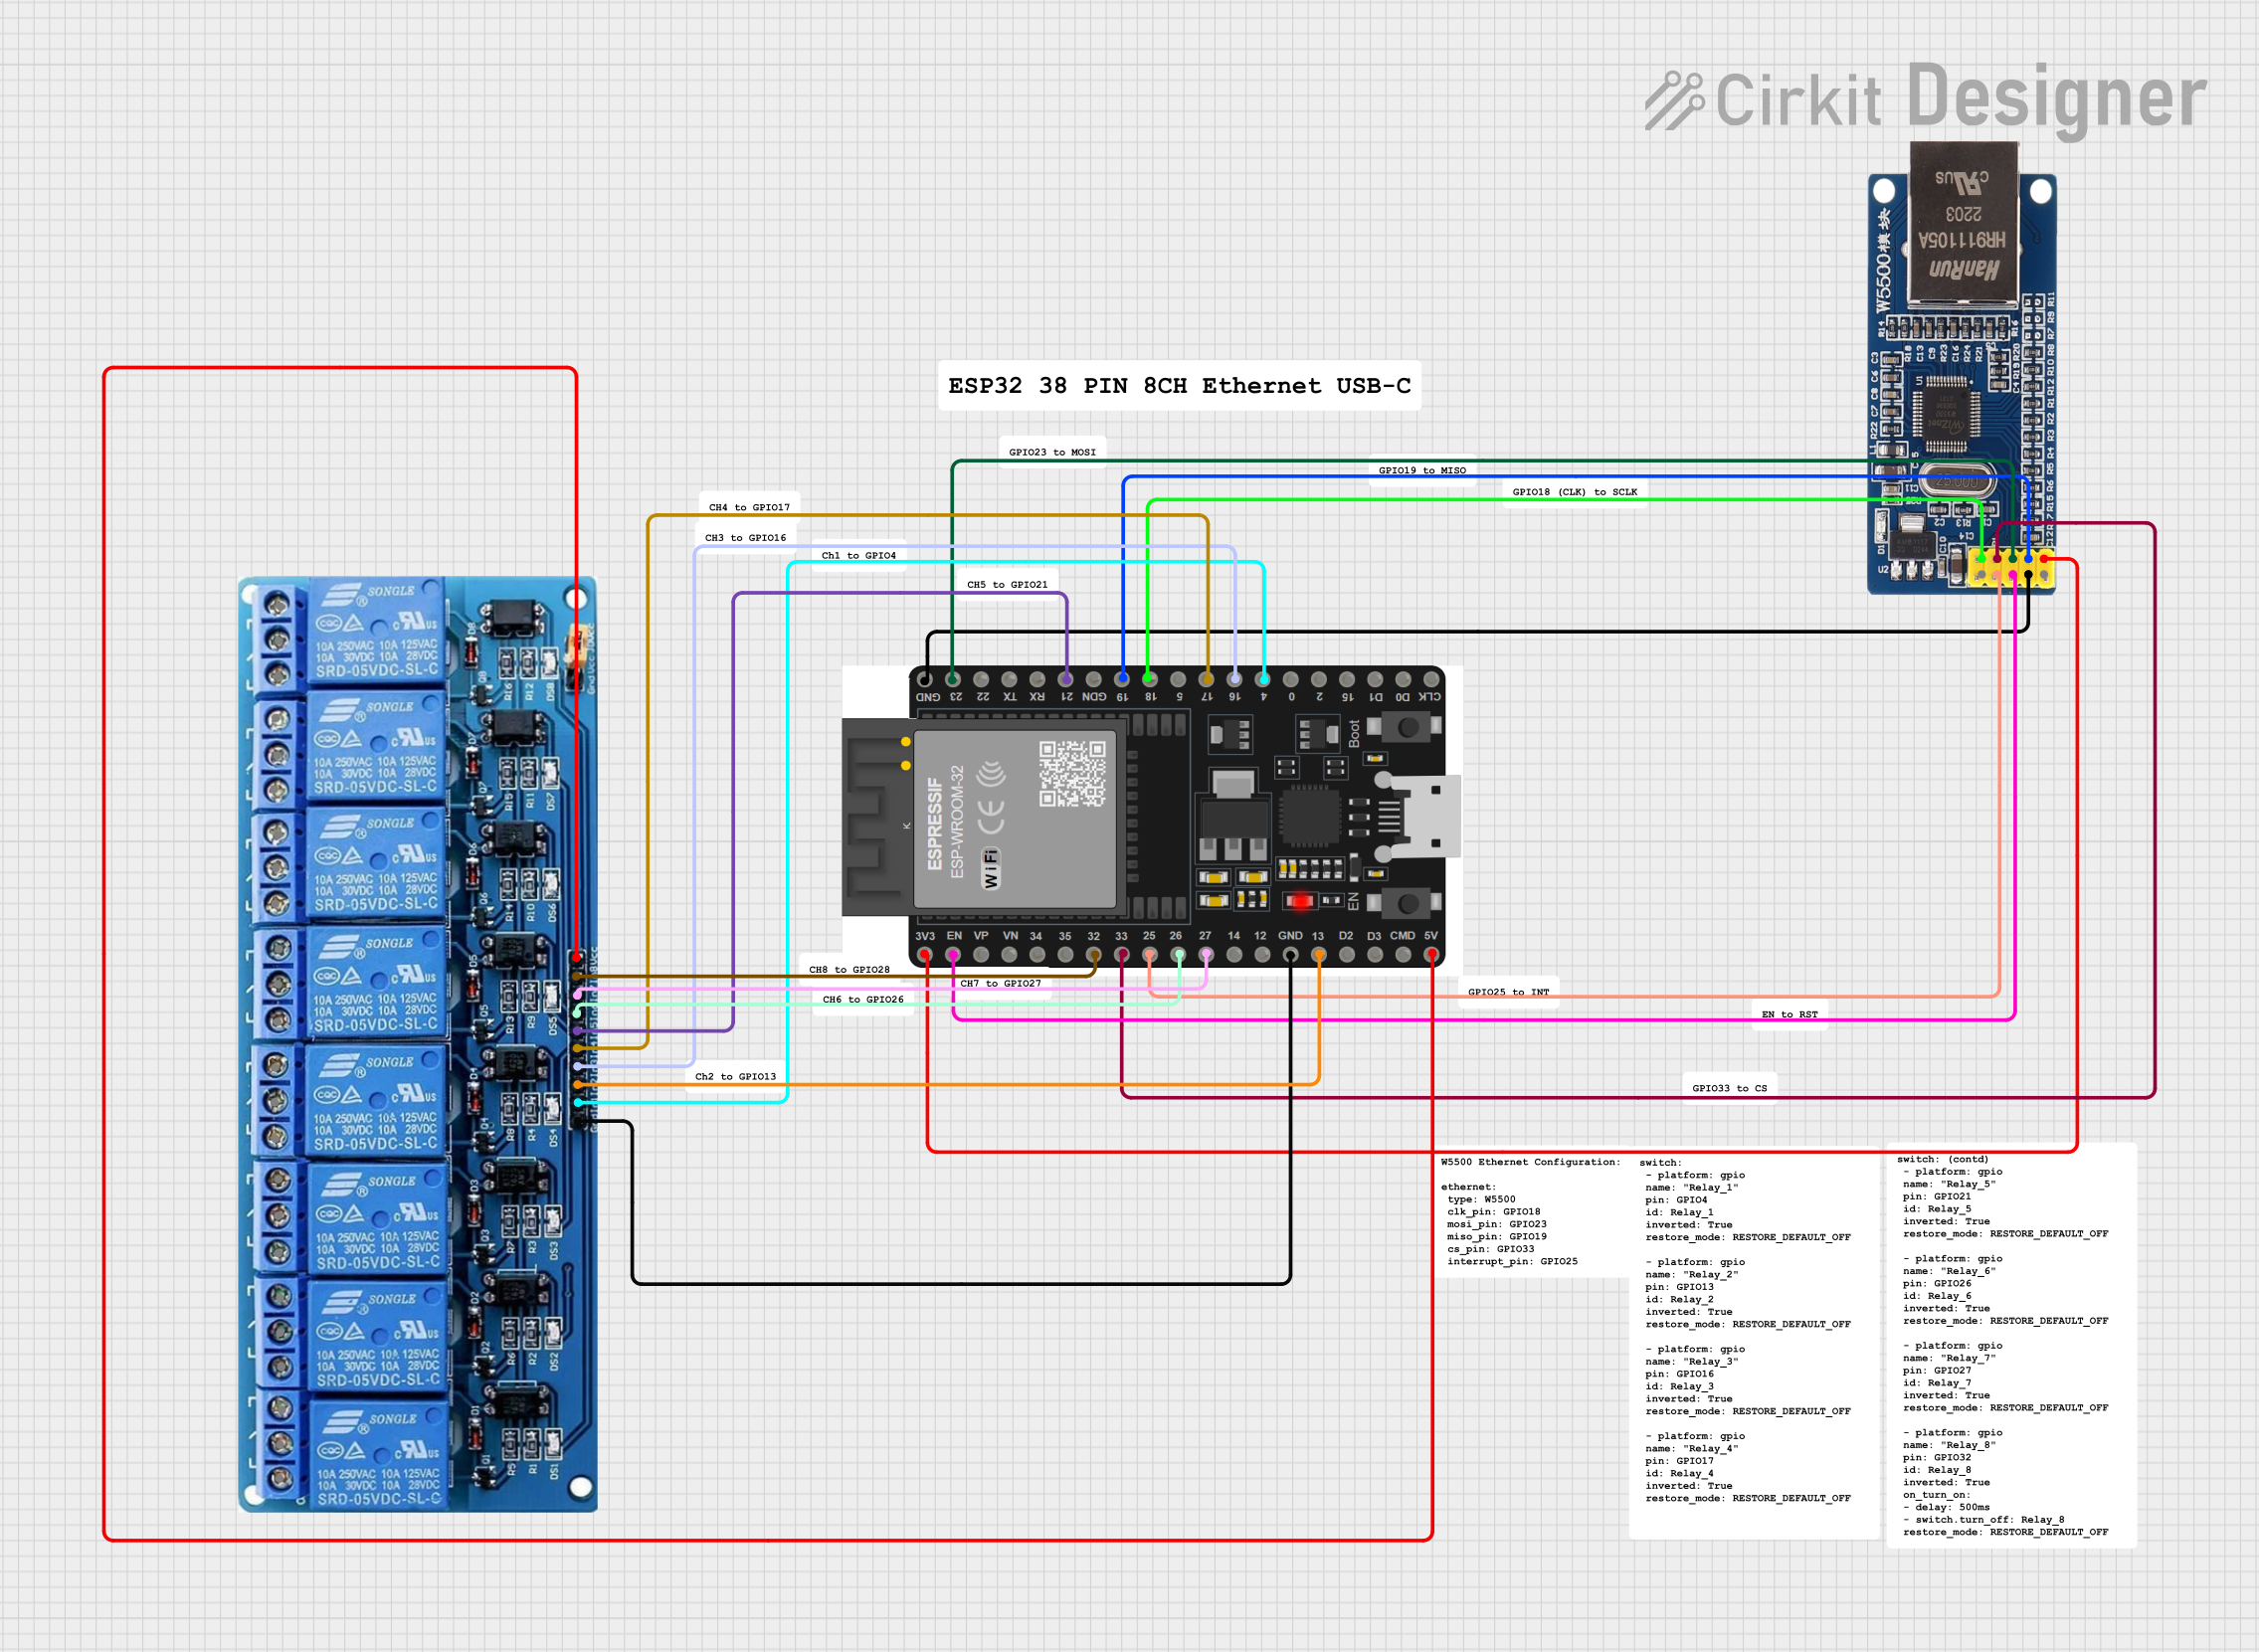
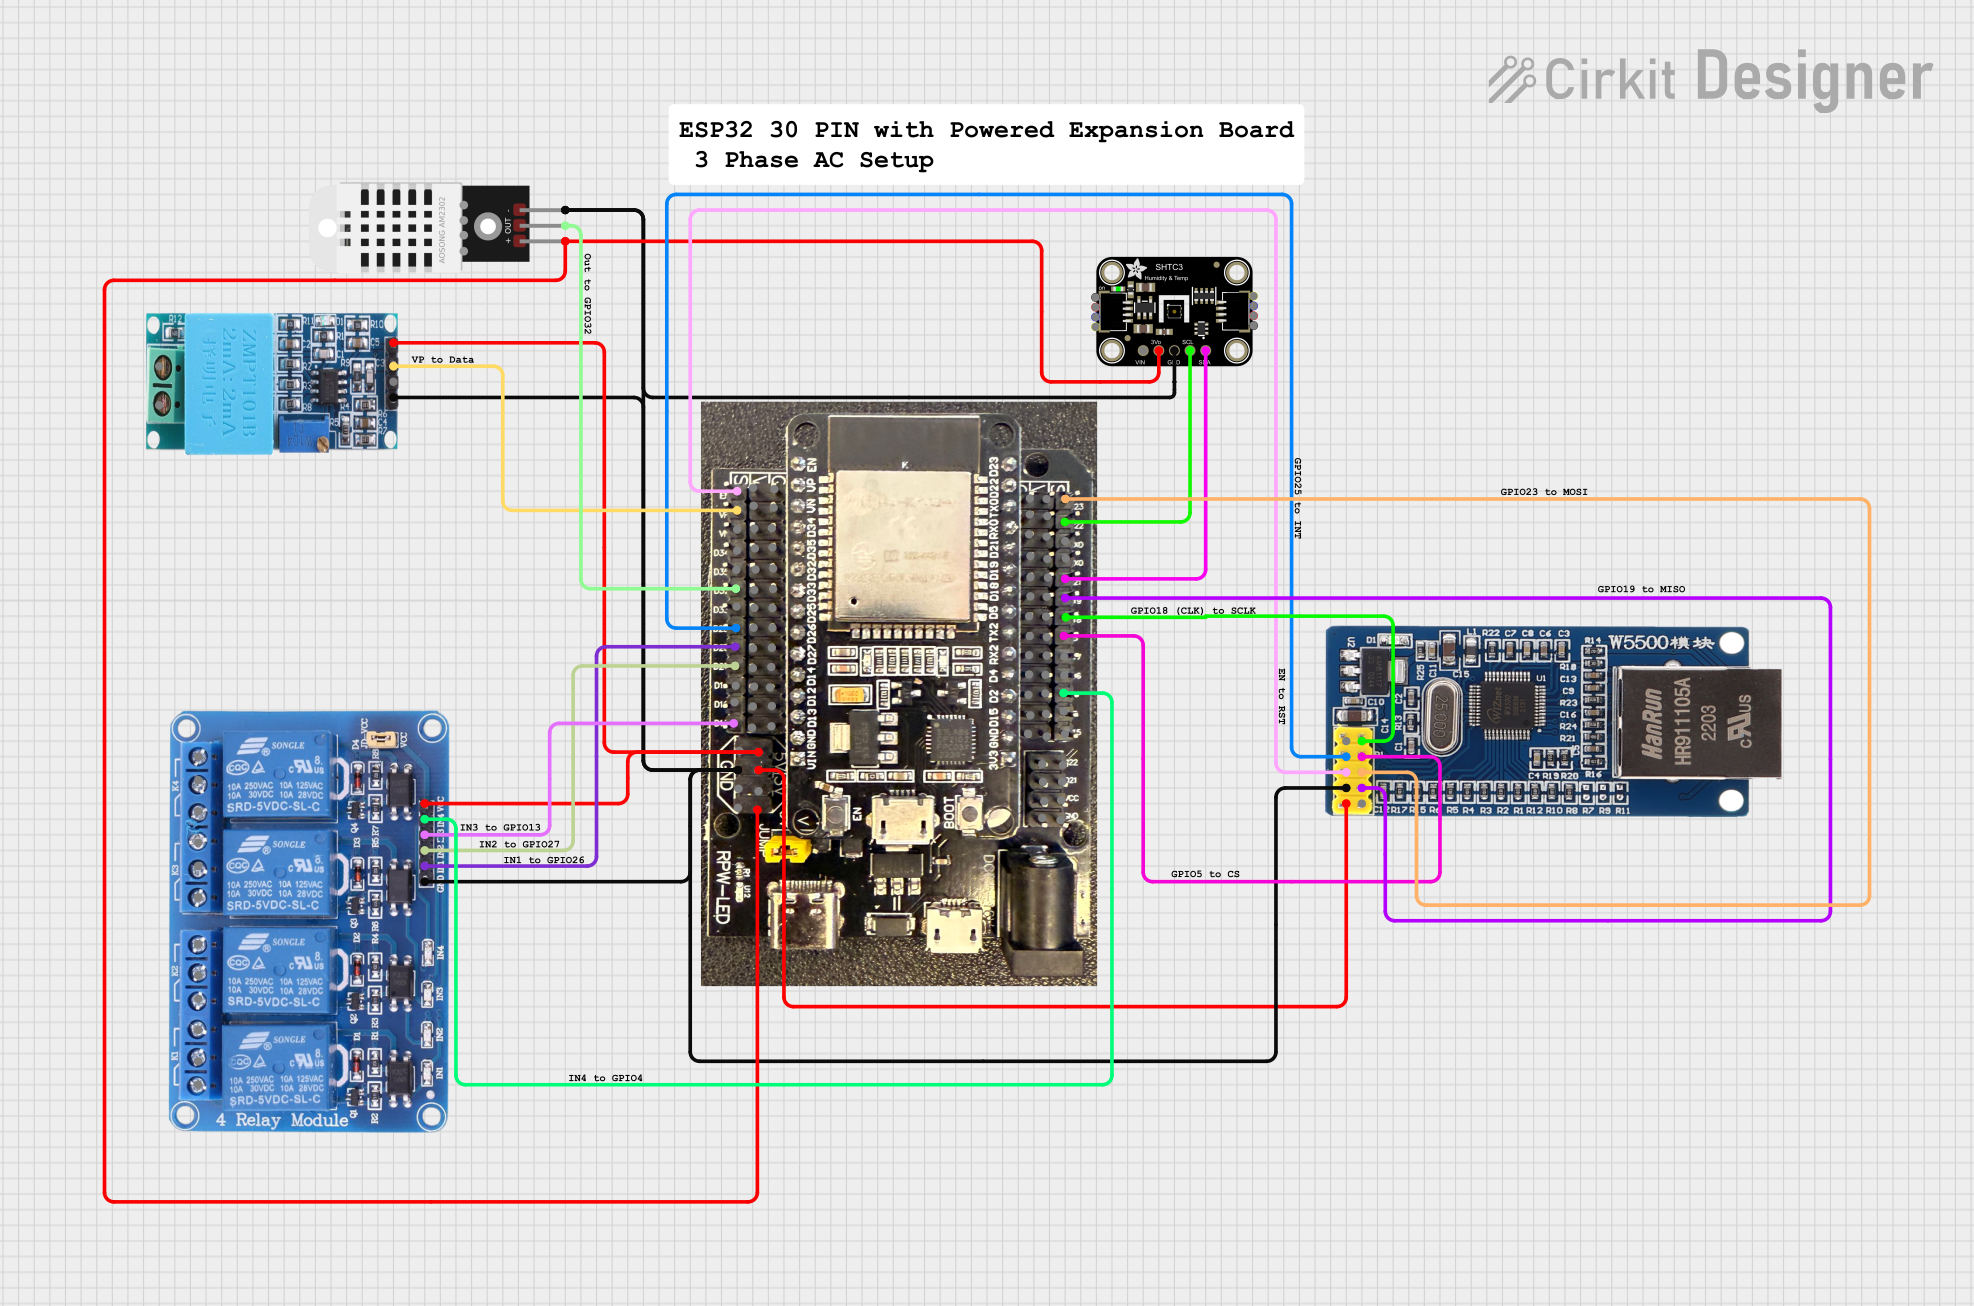
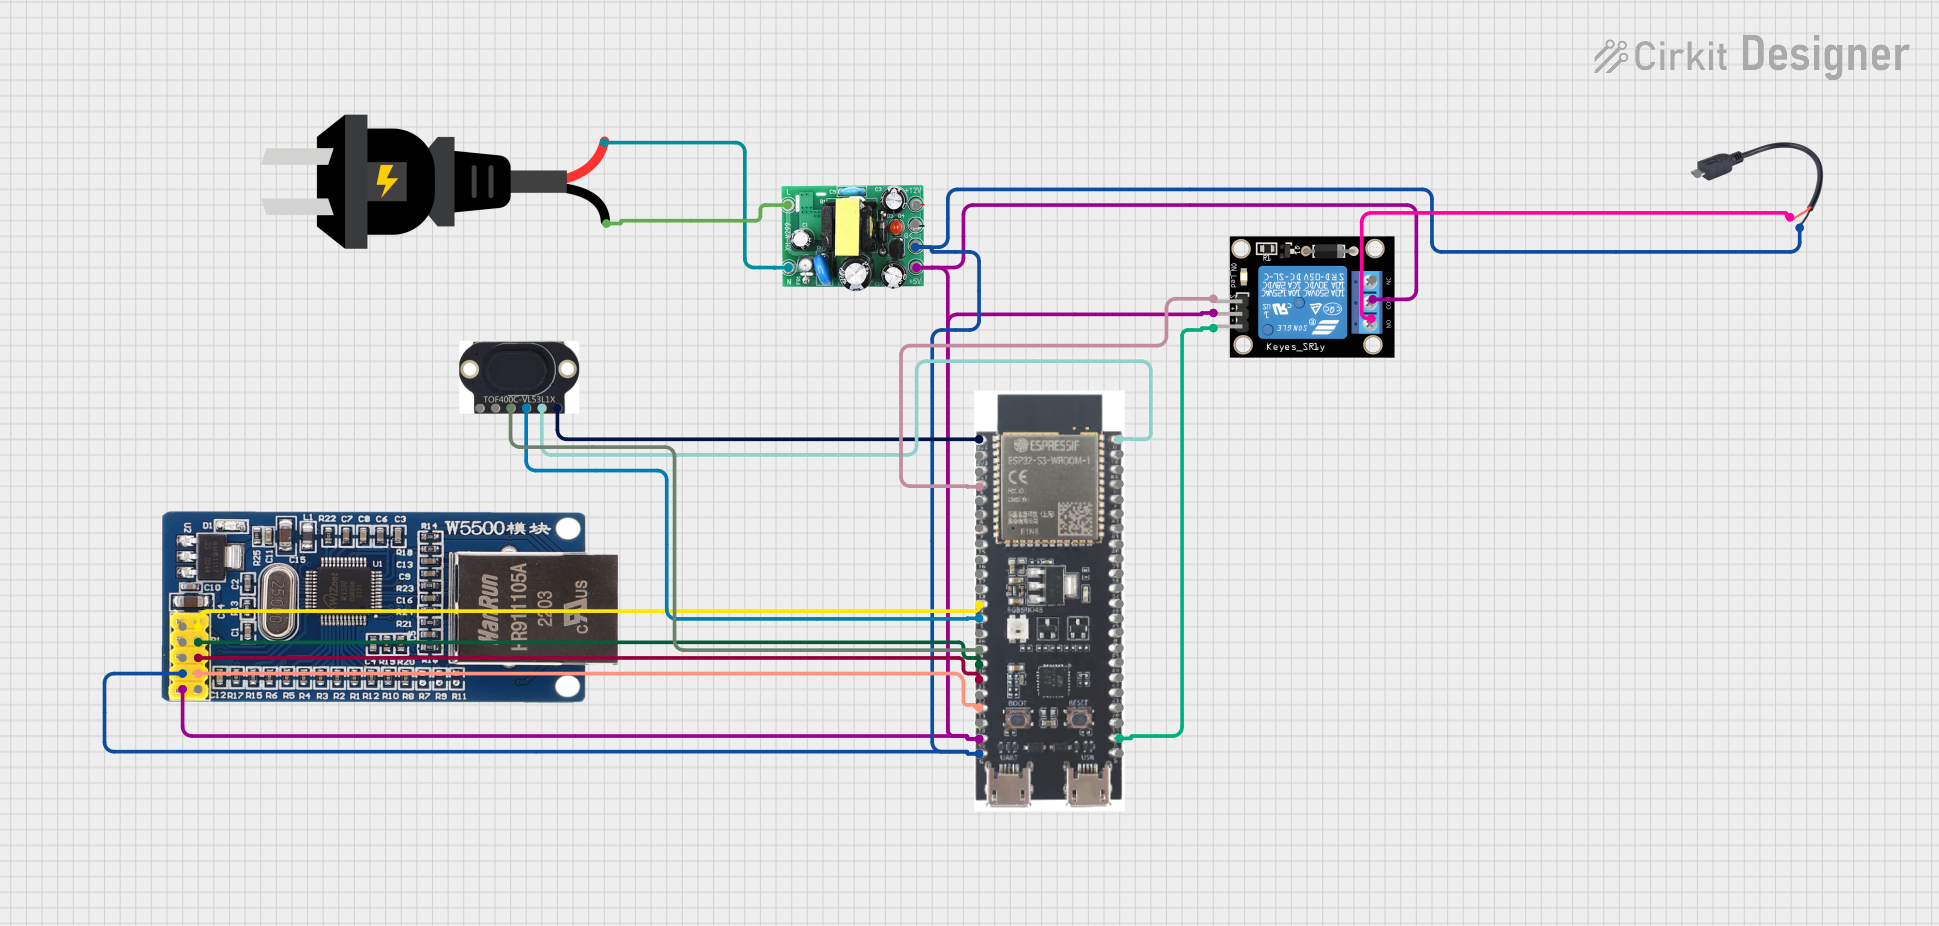
Usage Instructions
How to Use the Component in a Circuit
Powering the Board:
- Connect the board to a 5V power source using the USB-C port. The onboard voltage regulator will provide the required 3.3V to the ESP32-S3 and W5500 module.
Programming the Board:
- Use the USB-C port to connect the board to your computer. Install the necessary drivers for the ESP32-S3 if required.
- Use the Arduino IDE or ESP-IDF (Espressif IoT Development Framework) to write and upload code to the board.
Connecting to Ethernet:
- Connect an Ethernet cable to the RJ45 port on the board. Ensure the other end is connected to your network router or switch.
- Use the W5500 library in your code to configure and manage Ethernet communication.
Using GPIO Pins:
- Configure the GPIO pins as needed for your application (e.g., digital input/output, PWM, ADC, etc.).
- Refer to the pinout table above for specific pin functions.
Important Considerations and Best Practices
- Ensure the input voltage does not exceed 5V to avoid damaging the board.
- Use proper grounding when connecting external peripherals to avoid noise or interference.
- When using Ethernet, ensure the RJ45 cable is securely connected to avoid communication issues.
- For wireless applications, ensure the board is within range of your Wi-Fi network for stable connectivity.
- Use the latest version of the ESP32 Arduino core or ESP-IDF for compatibility with the ESP32-S3.
Example Code for Arduino IDE
Below is an example code snippet to initialize the Ethernet connection using the W5500 module and send a simple HTTP GET request:
#include <SPI.h>
#include <Ethernet.h>

// Define MAC address and IP address for the Ethernet module
byte mac[] = { 0xDE, 0xAD, 0xBE, 0xEF, 0xFE, 0xED };
IPAddress ip(192, 168, 1, 177);

// Initialize the Ethernet client
EthernetClient client;

void setup() {
  // Start serial communication for debugging
  Serial.begin(115200);
  while (!Serial) {
    ; // Wait for the serial port to connect
  }

  // Initialize Ethernet with the specified MAC and IP address
  if (Ethernet.begin(mac) == 0) {
    Serial.println("Failed to configure Ethernet using DHCP");
    Ethernet.begin(mac, ip); // Use static IP if DHCP fails
  }

  // Print the assigned IP address
  Serial.print("Ethernet initialized. IP address: ");
  Serial.println(Ethernet.localIP());
}

void loop() {
  // Connect to a server (example: example.com on port 80)
  if (client.connect("example.com", 80)) {
    Serial.println("Connected to server");
    // Send an HTTP GET request
    client.println("GET / HTTP/1.1");
    client.println("Host: example.com");
    client.println("Connection: close");
    client.println();
  } else {
    Serial.println("Connection failed");
  }

  // Wait for a response and print it to the serial monitor
  while (client.available()) {
    char c = client.read();
    Serial.print(c);
  }

  // Disconnect from the server
  client.stop();
  delay(10000); // Wait 10 seconds before the next request
}
Troubleshooting and FAQs
Common Issues and Solutions
Ethernet Not Connecting:
- Ensure the Ethernet cable is securely connected to the RJ45 port.
- Verify that the network router or switch is operational.
- Check the MAC and IP address configuration in your code.
Board Not Detected by Computer:
- Ensure the USB-C cable is properly connected and functional.
- Install the correct USB drivers for the ESP32-S3.
- Try a different USB port or cable.
Wi-Fi Connectivity Issues:
- Ensure the board is within range of the Wi-Fi network.
- Double-check the SSID and password in your code.
Code Upload Fails:
- Ensure the board is in boot mode by holding the BOOT button while pressing the RESET button.
- Verify the correct board and port are selected in the Arduino IDE.
FAQs
Q: Can I use both Wi-Fi and Ethernet simultaneously?
A: Yes, the ESP32-S3 supports simultaneous use of Wi-Fi and Ethernet. However, you may need to manage the network interfaces in your code to avoid conflicts.
Q: What is the maximum Ethernet speed supported?
A: The W5500 module supports up to 100 Mbps Ethernet speed.
Q: Can I power the board using an external 3.3V source?
A: Yes, you can power the board using the 3V3 pin, but ensure the voltage is stable and does not exceed 3.3V.
Q: Is the board compatible with the ESP-IDF?
A: Yes, the T-ETH-Elite ESP32-S3 is fully compatible with the ESP-IDF for advanced development.