Cirkit Designer Logo
Cirkit Designer
Your all-in-one circuit design IDE
Home / 
Component Documentation

How to Use MPPT SCC: Examples, Pinouts, and Specs

Image of MPPT SCC
Cirkit Designer LogoDesign with MPPT SCC in Cirkit Designer

Introduction

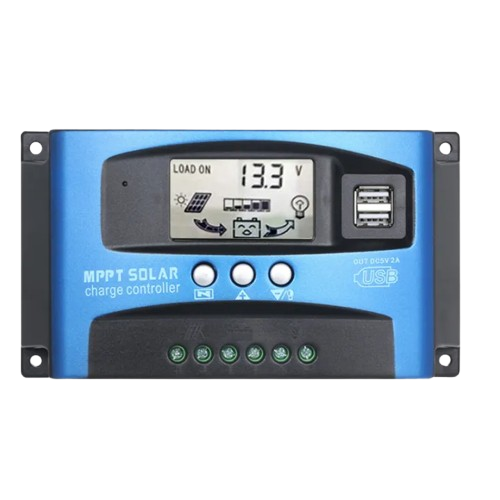
The Maximum Power Point Tracking (MPPT) Solar Charge Controller is an advanced charging device designed to optimize the efficiency of solar power systems. It dynamically adjusts the working point of the solar panels to ensure they operate at their maximum power point, thus extracting the most energy under various conditions. This component is essential in applications such as off-grid solar systems, residential solar setups, and remote power stations.

Explore Projects Built with MPPT SCC

Use Cirkit Designer to design, explore, and prototype these projects online. Some projects support real-time simulation. Click "Open Project" to start designing instantly!
Solar-Powered Battery Charging System with MPPT and ESP32
Image of Daya matahari: A project utilizing MPPT SCC in a practical application
This circuit is a solar-powered battery charging system with an MPPT (Maximum Power Point Tracking) charge controller. The solar panel provides power to the MPPT SCC, which optimizes the charging of a 12V battery. A step-up boost converter is used to regulate the output voltage from the battery.
Cirkit Designer LogoOpen Project in Cirkit Designer
Solar-Powered Battery Charging System with MPPT and Voltage Regulation
Image of SUBSISTEM DAYA SIPERSA: A project utilizing MPPT SCC in a practical application
This circuit is a solar power management system that includes a solar panel, an MPPT solar charge controller, a 12V 200Ah battery, and various voltage converters. The system is designed to harness solar energy, store it in a battery, and provide regulated power outputs at different voltages for various loads.
Cirkit Designer LogoOpen Project in Cirkit Designer
Solar-Powered Battery Charging System with MPPT and Multimeter Monitoring
Image of Tech: A project utilizing MPPT SCC in a practical application
This circuit consists of two solar panels connected in series to an MPPT solar charge controller, which regulates the charging of a 12V 200Ah battery. A multimeter is integrated to monitor the voltage and current from the solar panels to the charge controller.
Cirkit Designer LogoOpen Project in Cirkit Designer
Arduino-Based Solar and Grid Power Management System with Battery Backup
Image of ATS: A project utilizing MPPT SCC in a practical application
This circuit is a solar power management system with an Arduino-based control mechanism. It uses an MPPT charge controller to manage power from a solar panel and a 12V battery, switching between solar and grid power using relays controlled by the Arduino. LEDs indicate the active power source, and a voltage sensor monitors the battery voltage.
Cirkit Designer LogoOpen Project in Cirkit Designer

Explore Projects Built with MPPT SCC

Use Cirkit Designer to design, explore, and prototype these projects online. Some projects support real-time simulation. Click "Open Project" to start designing instantly!
Image of Daya matahari: A project utilizing MPPT SCC in a practical application
Solar-Powered Battery Charging System with MPPT and ESP32
This circuit is a solar-powered battery charging system with an MPPT (Maximum Power Point Tracking) charge controller. The solar panel provides power to the MPPT SCC, which optimizes the charging of a 12V battery. A step-up boost converter is used to regulate the output voltage from the battery.
Cirkit Designer LogoOpen Project in Cirkit Designer
Image of SUBSISTEM DAYA SIPERSA: A project utilizing MPPT SCC in a practical application
Solar-Powered Battery Charging System with MPPT and Voltage Regulation
This circuit is a solar power management system that includes a solar panel, an MPPT solar charge controller, a 12V 200Ah battery, and various voltage converters. The system is designed to harness solar energy, store it in a battery, and provide regulated power outputs at different voltages for various loads.
Cirkit Designer LogoOpen Project in Cirkit Designer
Image of Tech: A project utilizing MPPT SCC in a practical application
Solar-Powered Battery Charging System with MPPT and Multimeter Monitoring
This circuit consists of two solar panels connected in series to an MPPT solar charge controller, which regulates the charging of a 12V 200Ah battery. A multimeter is integrated to monitor the voltage and current from the solar panels to the charge controller.
Cirkit Designer LogoOpen Project in Cirkit Designer
Image of ATS: A project utilizing MPPT SCC in a practical application
Arduino-Based Solar and Grid Power Management System with Battery Backup
This circuit is a solar power management system with an Arduino-based control mechanism. It uses an MPPT charge controller to manage power from a solar panel and a 12V battery, switching between solar and grid power using relays controlled by the Arduino. LEDs indicate the active power source, and a voltage sensor monitors the battery voltage.
Cirkit Designer LogoOpen Project in Cirkit Designer

Technical Specifications

General Specifications

Parameter Specification Notes
Maximum PV Input Voltage XX V Exceeding this may damage the SCC
Maximum Charging Current XX A
Maximum Output Power XX W
Operating Temperature -XX to XX°C
Efficiency Up to XX% At optimal conditions
Battery Type Compatibility Lead Acid, Li-ion, etc. Depending on model

Pin Configuration and Descriptions

Pin Number Name Description
1 PV+ Positive terminal for solar panel input
2 PV- Negative terminal for solar panel input
3 Battery+ Positive terminal for battery connection
4 Battery- Negative terminal for battery connection
5 Load+ Positive terminal for load output
6 Load- Negative terminal for load output
7 Temp Sensor Connection for external temperature sensor (if applicable)
8 Remote Monitor Port for remote monitoring accessories (if applicable)

Usage Instructions

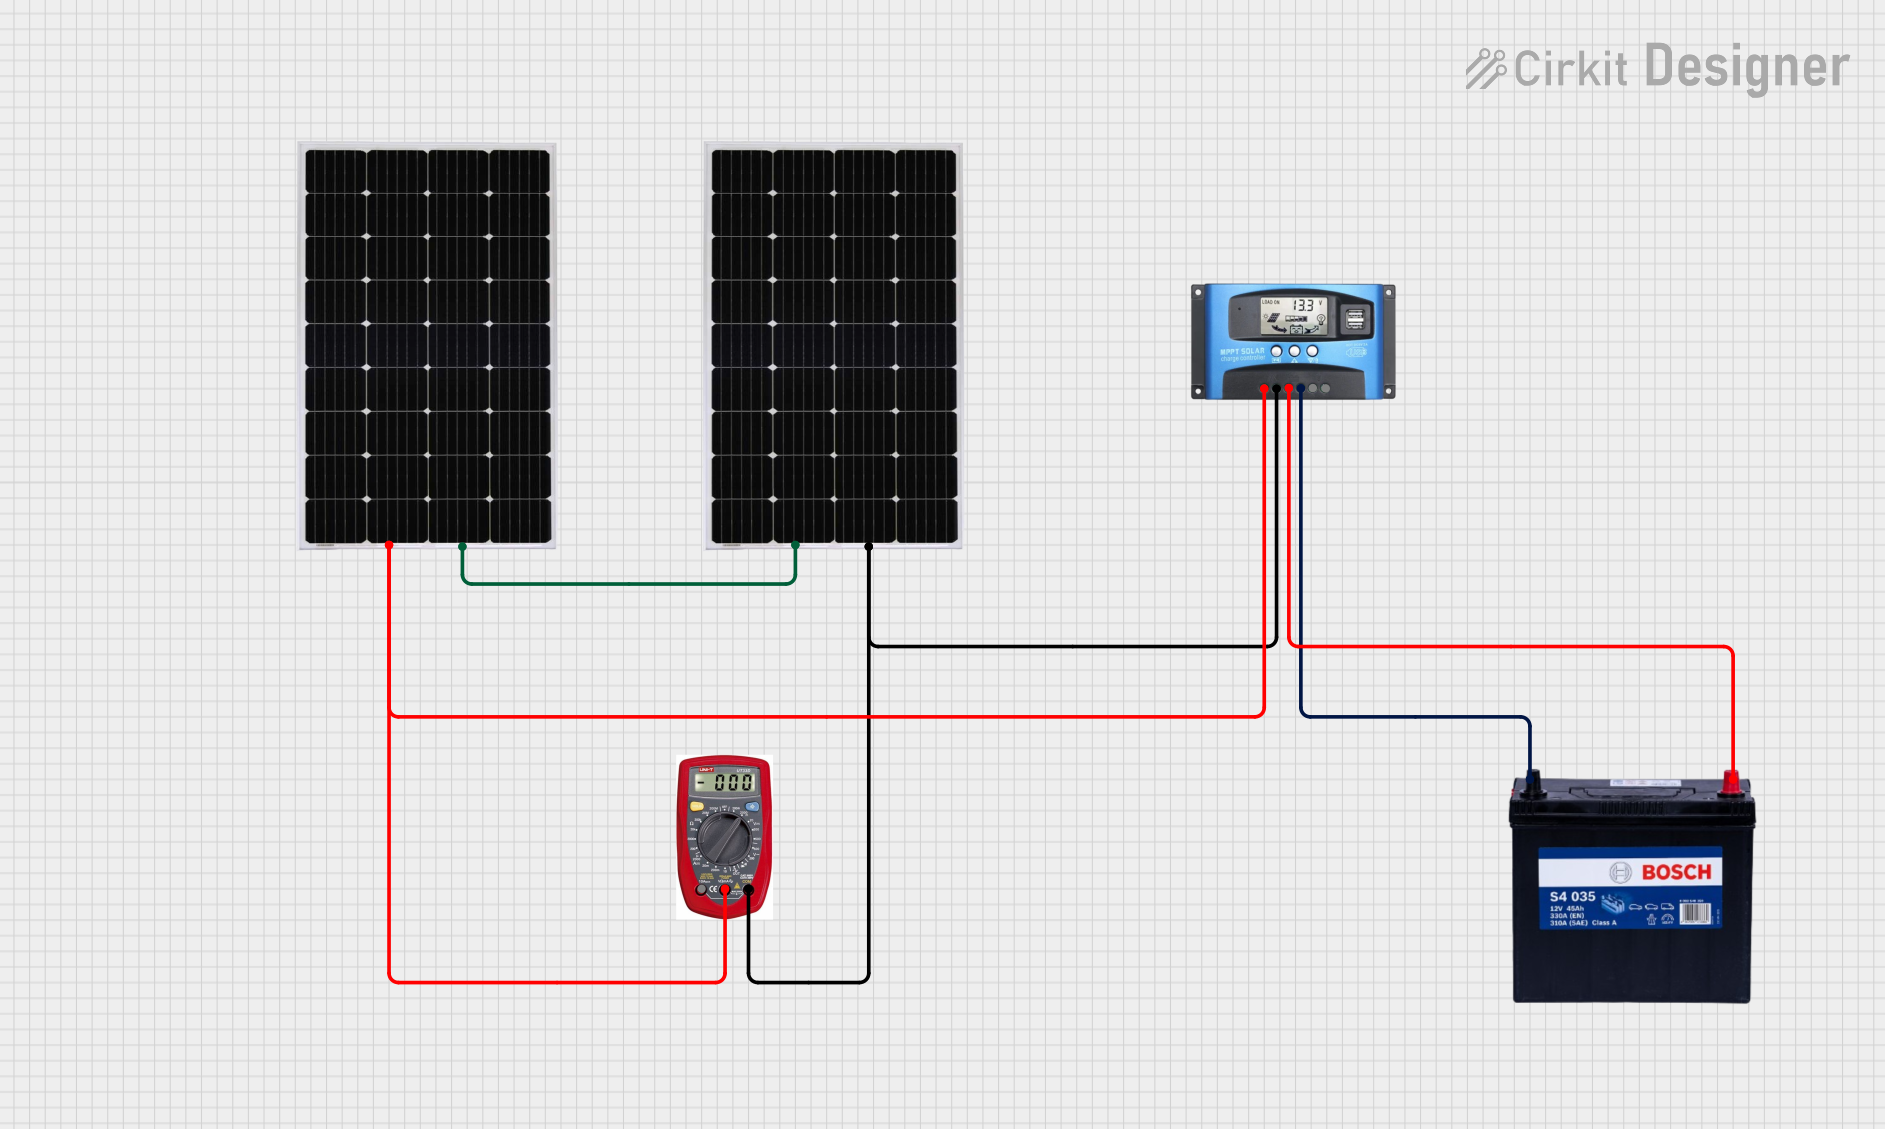
Connecting the MPPT SCC to a Circuit

  1. Safety First: Ensure all power sources are disconnected before making any connections.
  2. PV Panel Connection: Connect the positive and negative wires from the solar panel to the PV+ and PV- terminals, respectively.
  3. Battery Connection: Attach the positive and negative wires from the battery to the Battery+ and Battery- terminals, respectively.
  4. Load Connection: If you have a load (like lights or a pump), connect it to the Load+ and Load- terminals.
  5. Sensor and Monitoring (Optional): Connect any external temperature sensors or monitoring tools to their respective ports.

Best Practices

  • Use appropriate wire sizes to handle the expected current and minimize voltage drop.
  • Ensure all connections are tight and secure to prevent arcing or overheating.
  • Install the SCC in a location protected from direct sunlight and moisture.
  • Regularly clean the solar panels to maintain optimal performance.

Troubleshooting and FAQs

Common Issues and Solutions

  • No Output to Load: Check all connections, ensure the battery is charged, and the load does not exceed the SCC's rating.
  • Low Charging Efficiency: Verify that the solar panels are clean, properly angled, and free of shading.
  • Overheating: Ensure the SCC is in a well-ventilated area and not exposed to high temperatures.

FAQs

  • Q: Can I use the MPPT SCC with any type of battery?

    • A: The MPPT SCC is compatible with various battery types. Check the technical specifications for your model to ensure compatibility.
  • Q: How do I know if the MPPT SCC is working correctly?

    • A: Most MPPT SCCs have indicator lights or a display showing the status of charging and system health.

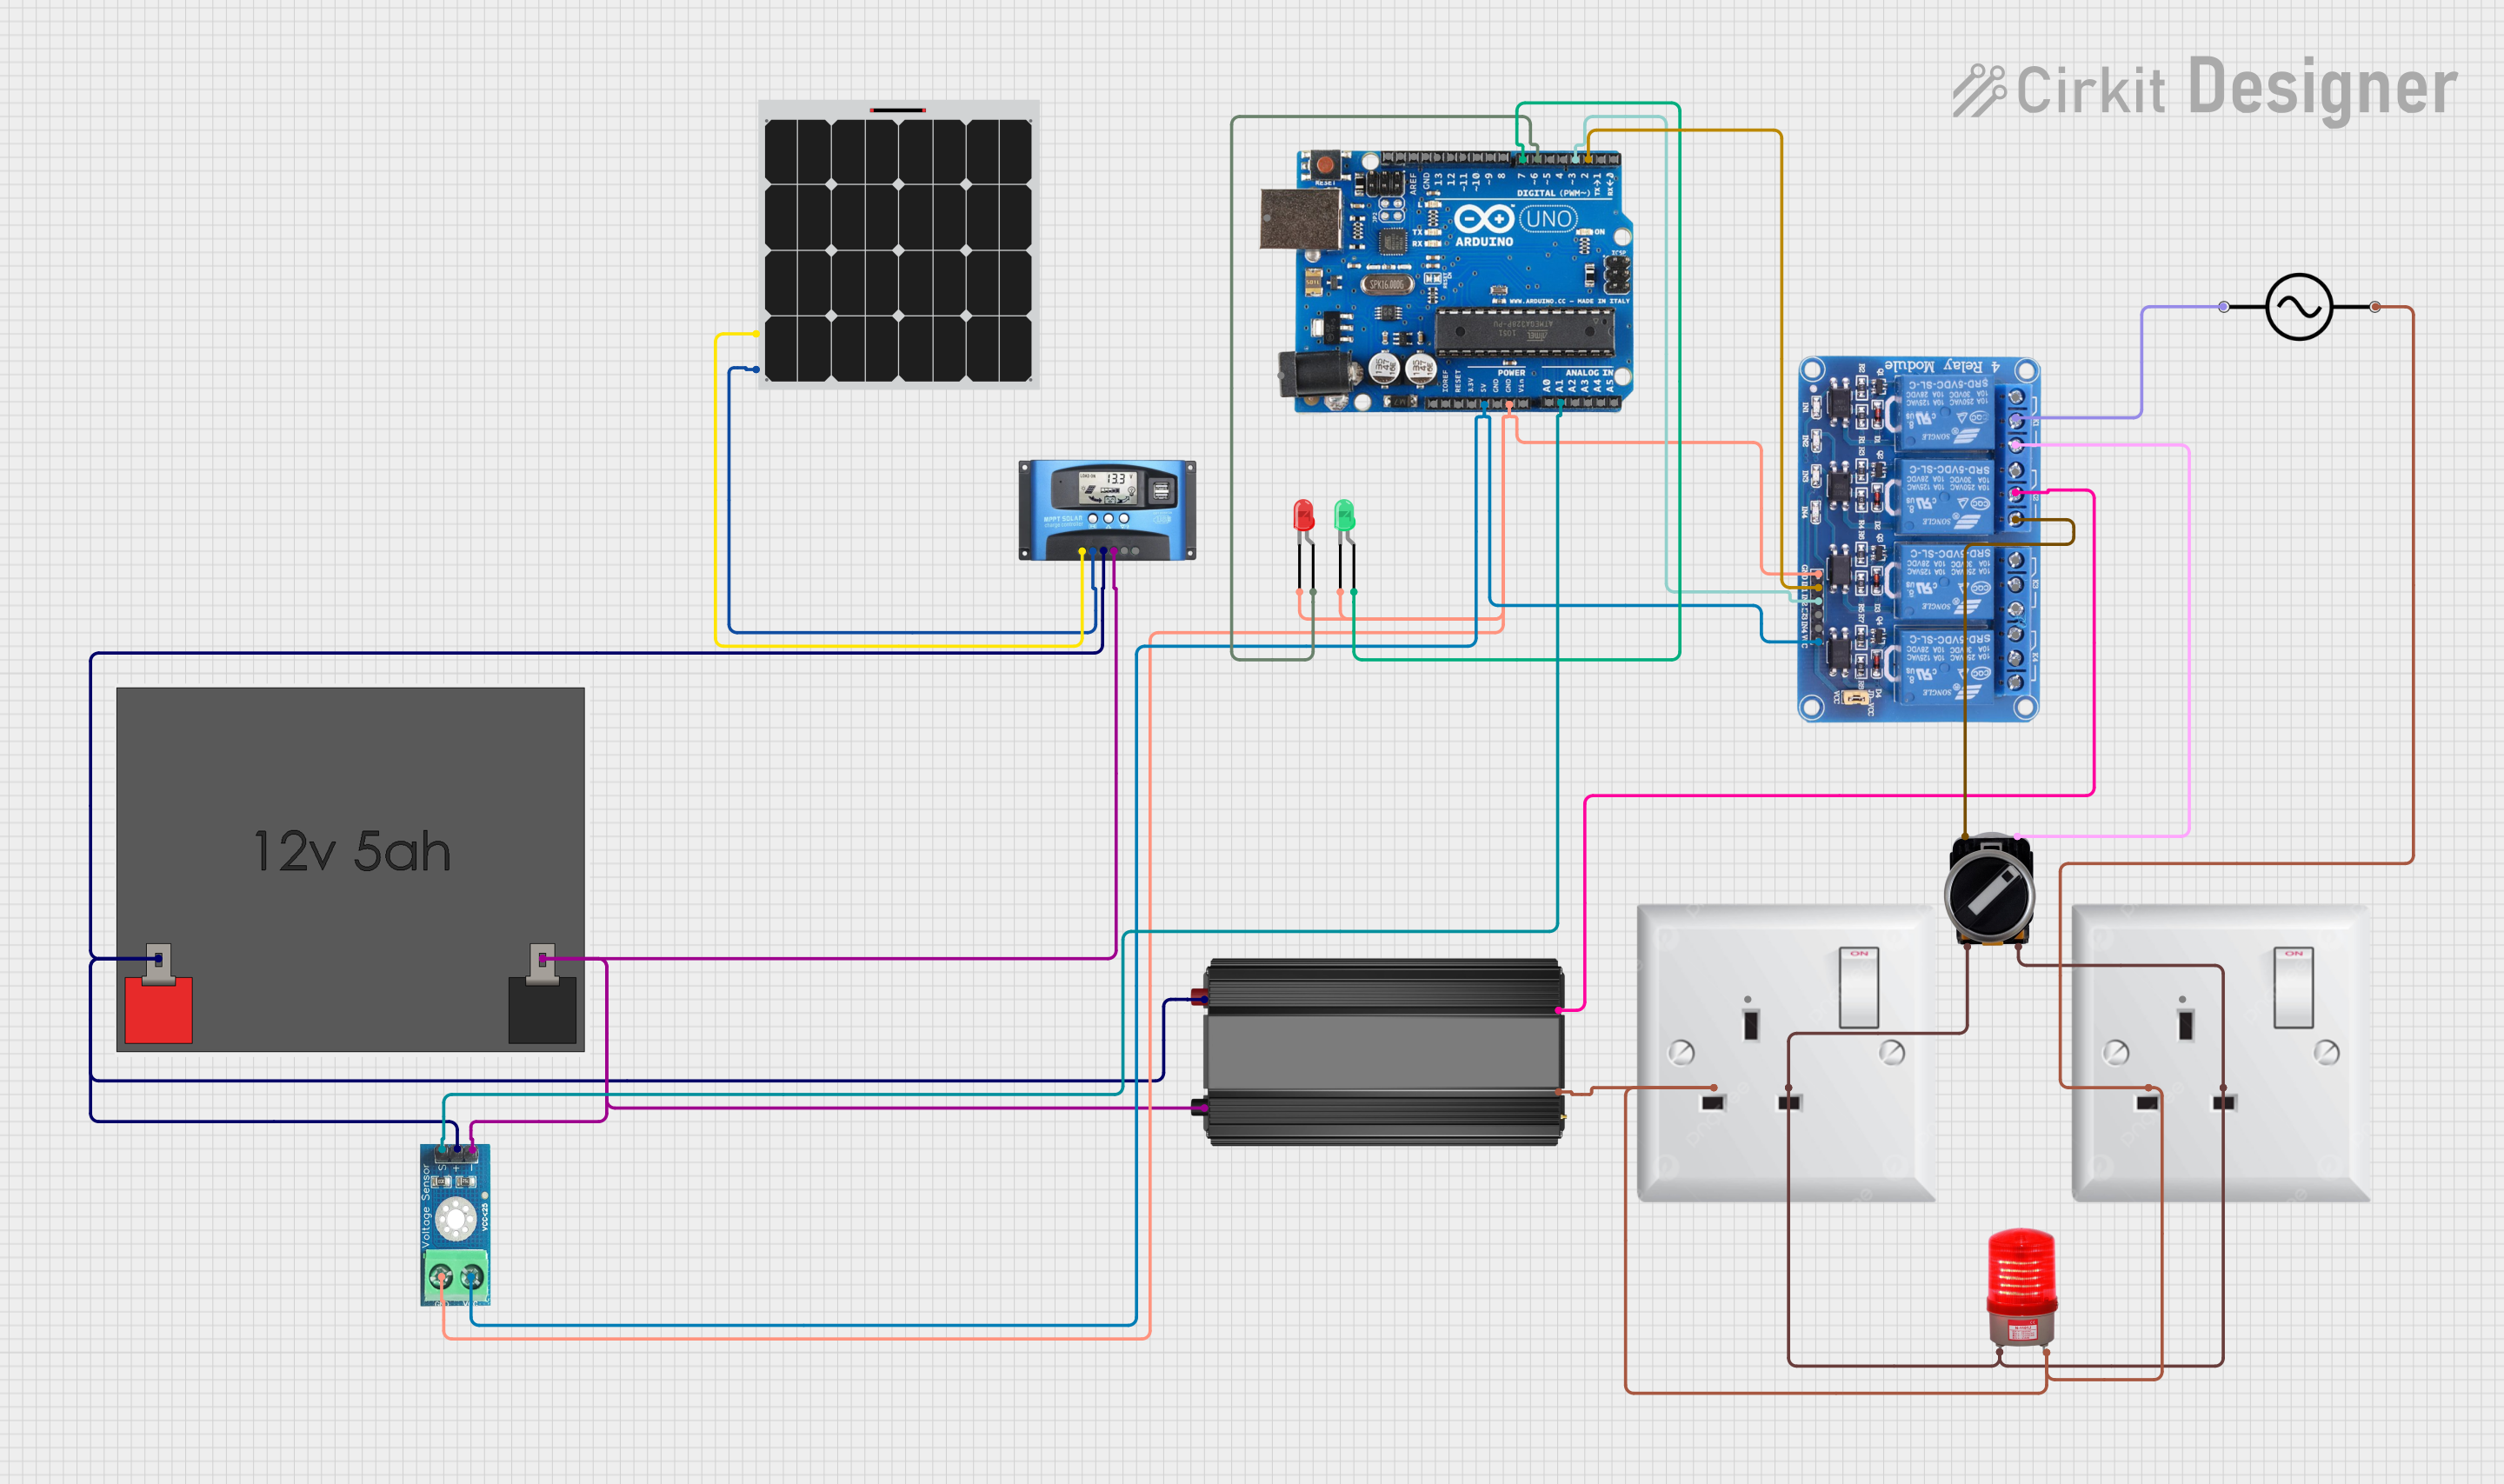
Arduino UNO Connection Example

The following is an example of how to connect an MPPT SCC to an Arduino UNO for data monitoring purposes. This example assumes the SCC provides a serial data output that can be read by the Arduino.

#include <SoftwareSerial.h>

SoftwareSerial MPPTSerial(10, 11); // RX, TX

void setup() {
  Serial.begin(9600); // Start the built-in serial port, usually for debugging purposes.
  MPPTSerial.begin(9600); // Start the software serial port to communicate with the SCC.
}

void loop() {
  if (MPPTSerial.available()) { // Check if data from SCC is available.
    String sccData = MPPTSerial.readStringUntil('\n'); // Read the data until a newline is received.
    Serial.println(sccData); // Output the data to the built-in serial port.
  }
}

Note: The actual connection and code will vary based on the specific MPPT SCC model and its communication protocol. Always refer to the manufacturer's datasheet for accurate information.

Remember to keep code comments concise and within the 80-character line length limit. This example demonstrates how to read data from the SCC and output it for monitoring purposes.