How to Use tacticle push button: Examples, Pinouts, and Specs
Introduction
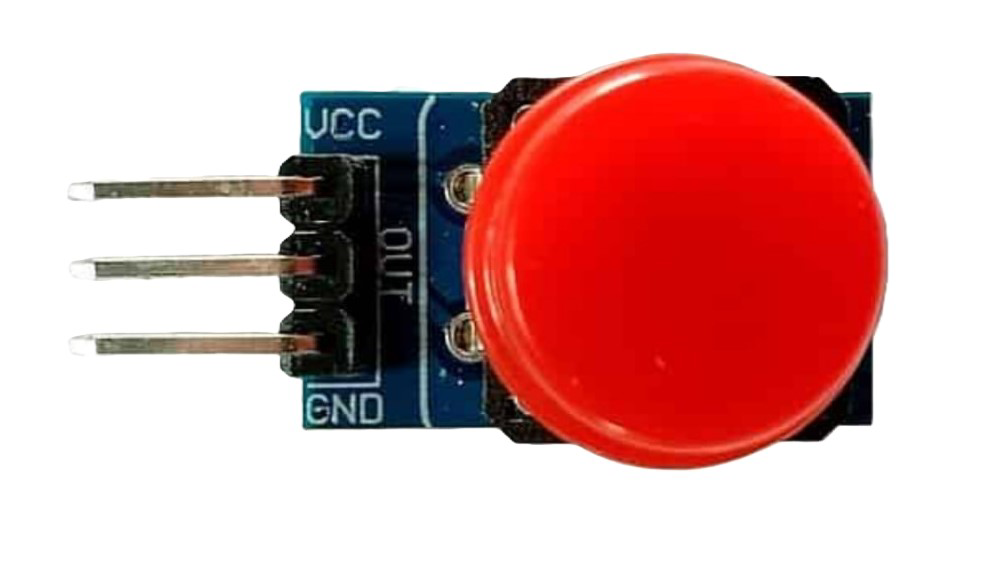
The tactile push button is a small, momentary switch that provides tactile feedback when pressed. It is widely used in electronic devices for user input, such as turning devices on/off, navigating menus, or triggering specific actions. This component is compact, reliable, and easy to integrate into various circuits, making it a popular choice for hobbyists and professionals alike.
Explore Projects Built with tacticle push button
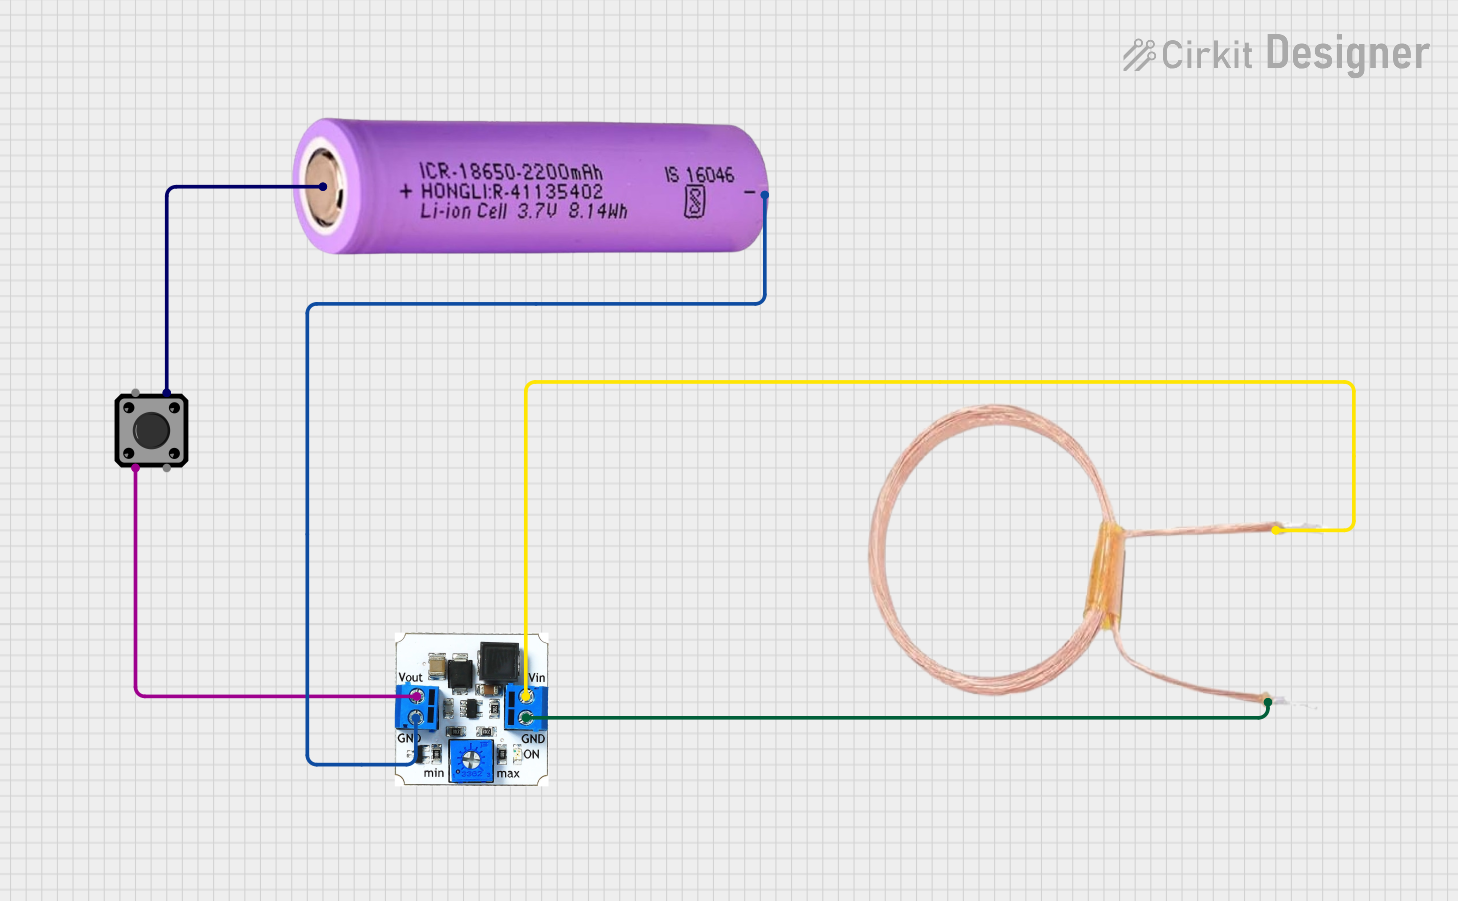
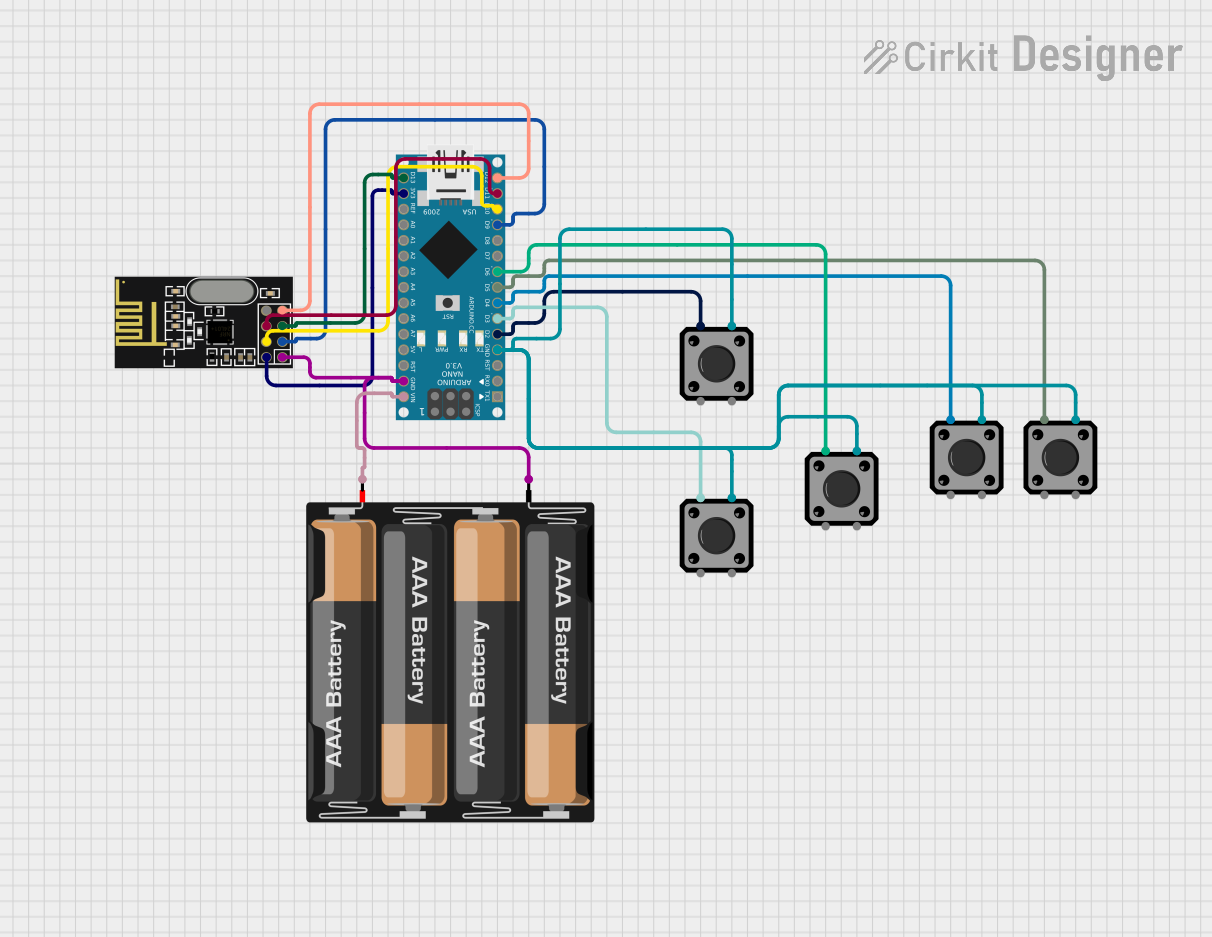

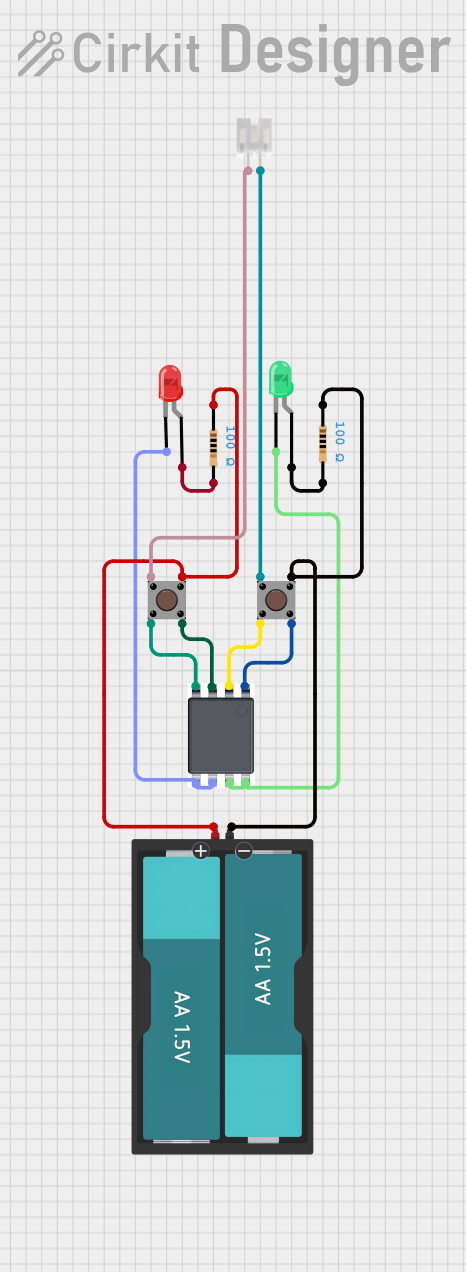
Explore Projects Built with tacticle push button
Common Applications and Use Cases
- User input for microcontroller-based projects (e.g., Arduino UNO)
- Reset or power buttons in electronic devices
- Menu navigation in embedded systems
- Triggering events in robotics and automation projects
Technical Specifications
The tactile push button manufactured by Arduino (Part ID: UNO) is designed for seamless integration with Arduino boards and other microcontroller platforms. Below are the key technical details:
Key Specifications
| Parameter | Value |
|---|---|
| Manufacturer | Arduino |
| Part ID | UNO |
| Operating Voltage | 3.3V to 5V |
| Maximum Current | 50mA |
| Contact Resistance | ≤ 100mΩ |
| Insulation Resistance | ≥ 100MΩ at 100V DC |
| Operating Temperature | -20°C to +70°C |
| Actuation Force | 160 ± 50 gf |
| Lifespan | 100,000 cycles |
Pin Configuration and Descriptions
The tactile push button typically has four pins, arranged in a square configuration. The pins are internally connected in pairs, as shown in the table below:
| Pin Number | Description |
|---|---|
| 1 | Connected to one side of the switch |
| 2 | Connected to the same side as Pin 1 |
| 3 | Connected to the opposite side |
| 4 | Connected to the same side as Pin 3 |
Note: Pins 1 and 2 are internally connected, as are Pins 3 and 4. When the button is pressed, the two pairs of pins are electrically connected.
Usage Instructions
How to Use the Component in a Circuit
- Identify the Pins: Determine which pins are internally connected using a multimeter or by referring to the pin configuration table above.
- Connect to a Microcontroller:
- Connect one pair of pins (e.g., Pins 1 and 2) to a digital input pin on the Arduino UNO and a pull-down resistor (typically 10kΩ) to ground.
- Connect the other pair of pins (e.g., Pins 3 and 4) to the positive voltage supply (e.g., 5V).
- Write Code: Use the Arduino IDE to write a program that detects when the button is pressed.
Example Circuit Diagram
Below is a simple circuit diagram for connecting the tactile push button to an Arduino UNO:
+5V ----> [Button] ----> Digital Pin 2 (Arduino)
           |
           |
          GND (via 10kΩ pull-down resistor)
Example Arduino Code
// Example code for using a tactile push button with Arduino UNO
const int buttonPin = 2;  // Pin connected to the button
const int ledPin = 13;    // Pin connected to the onboard LED

int buttonState = 0;      // Variable to store the button state

void setup() {
  pinMode(buttonPin, INPUT);  // Set button pin as input
  pinMode(ledPin, OUTPUT);   // Set LED pin as output
  Serial.begin(9600);        // Initialize serial communication
}

void loop() {
  buttonState = digitalRead(buttonPin);  // Read the button state

  if (buttonState == HIGH) {
    // If button is pressed, turn on the LED
    digitalWrite(ledPin, HIGH);
    Serial.println("Button Pressed!");  // Print message to serial monitor
  } else {
    // If button is not pressed, turn off the LED
    digitalWrite(ledPin, LOW);
  }
}
Important Considerations and Best Practices
- Debouncing: Mechanical switches like tactile push buttons can produce noise or "bouncing" when pressed. Use software debouncing techniques or external capacitors to ensure reliable operation.
- Pull-up/Pull-down Resistors: Always use a pull-up or pull-down resistor to prevent floating input states.
- Voltage Compatibility: Ensure the operating voltage of the button matches the voltage levels of your circuit.
Troubleshooting and FAQs
Common Issues and Solutions
Button Not Responding:
- Cause: Incorrect wiring or loose connections.
- Solution: Double-check the wiring and ensure all connections are secure.
Button Presses Are Unreliable:
- Cause: Switch bouncing.
- Solution: Implement software debouncing in your code or add a small capacitor (e.g., 0.1µF) across the button terminals.
Button Always Reads as Pressed:
- Cause: Missing pull-up or pull-down resistor.
- Solution: Add a 10kΩ resistor to pull the input pin to a known state when the button is not pressed.
Button Feels Stiff or Unresponsive:
- Cause: Physical wear or debris inside the button.
- Solution: Replace the button if it has reached the end of its lifespan or clean it carefully if possible.
FAQs
Q: Can I use the tactile push button with a 3.3V system?
A: Yes, the button is compatible with both 3.3V and 5V systems. Ensure your circuit components are also compatible with the chosen voltage.
Q: How do I debounce the button in software?
A: You can use a delay or a state-change detection algorithm in your code to filter out bouncing signals.
Q: Can I use the button for high-current applications?
A: No, the button is rated for a maximum current of 50mA. For high-current applications, use a relay or transistor in conjunction with the button.
Q: How do I test the button with a multimeter?
A: Set the multimeter to continuity mode. Connect the probes to one pair of pins and press the button. If the button is functional, the multimeter will beep when the button is pressed.
This concludes the documentation for the tactile push button. For further assistance, refer to Arduino's official resources or community forums.