How to Use Lampu LED Biru 12V: Examples, Pinouts, and Specs
Introduction
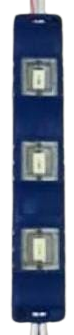
The Lampu LED Biru 12V is a blue LED lamp designed to operate at a 12-volt input. It provides efficient illumination with low power consumption and a long lifespan, making it an ideal choice for various applications. This LED is commonly used in automotive lighting, decorative lighting, indicator systems, and DIY electronics projects. Its vibrant blue light output and energy efficiency make it a popular component for both hobbyists and professionals.
Explore Projects Built with Lampu LED Biru 12V


Explore Projects Built with Lampu LED Biru 12V
Technical Specifications
Below are the key technical details and pin configuration for the Lampu LED Biru 12V:
Key Technical Details
| Parameter | Value |
|---|---|
| Operating Voltage | 12V DC |
| Current Consumption | ~20mA |
| Power Consumption | ~0.24W |
| Light Color | Blue |
| Wavelength | ~465-470 nm |
| Luminous Intensity | ~1000-2000 mcd (typical) |
| Viewing Angle | ~30° |
| Lifespan | ~50,000 hours (typical) |
| Polarity | Anode (+), Cathode (-) |
Pin Configuration
The Lampu LED Biru 12V typically has two pins:
| Pin Name | Description |
|---|---|
| Anode (+) | Connect to the positive terminal of the power supply. |
| Cathode (-) | Connect to the negative terminal of the power supply. |
Note: The longer pin is usually the anode (+), and the shorter pin is the cathode (-). If the pins are trimmed, you can identify the cathode by the flat edge on the LED casing.
Usage Instructions
How to Use the Lampu LED Biru 12V in a Circuit
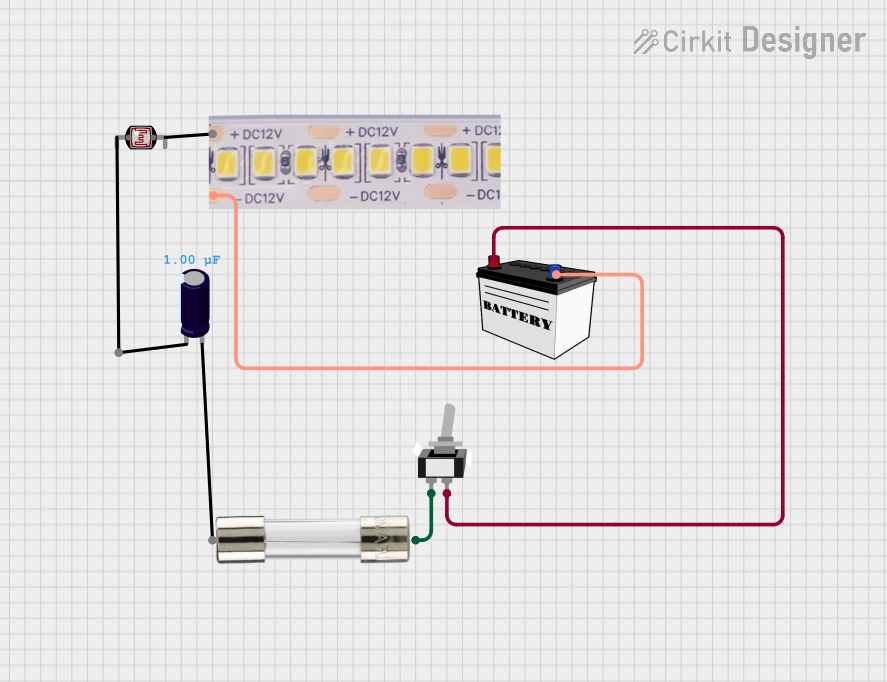
- Power Supply: Ensure you have a 12V DC power source. The LED is designed to operate directly at 12V without requiring an external current-limiting resistor, as it has an internal resistor.
- Polarity: Connect the anode (+) pin to the positive terminal of the power supply and the cathode (-) pin to the negative terminal.
- Wiring: Use appropriate wires or connectors to ensure a secure and reliable connection.
- Testing: Once connected, the LED should emit a bright blue light. If it does not light up, check the polarity and connections.
Important Considerations and Best Practices
- Voltage Compatibility: Do not exceed the 12V operating voltage, as this may damage the LED.
- Heat Management: While the LED generates minimal heat, ensure proper ventilation if used in enclosed spaces.
- Polarity Check: Reversing the polarity may prevent the LED from functioning or cause damage.
- Series/Parallel Connections: If using multiple LEDs, ensure the total voltage and current requirements are met.
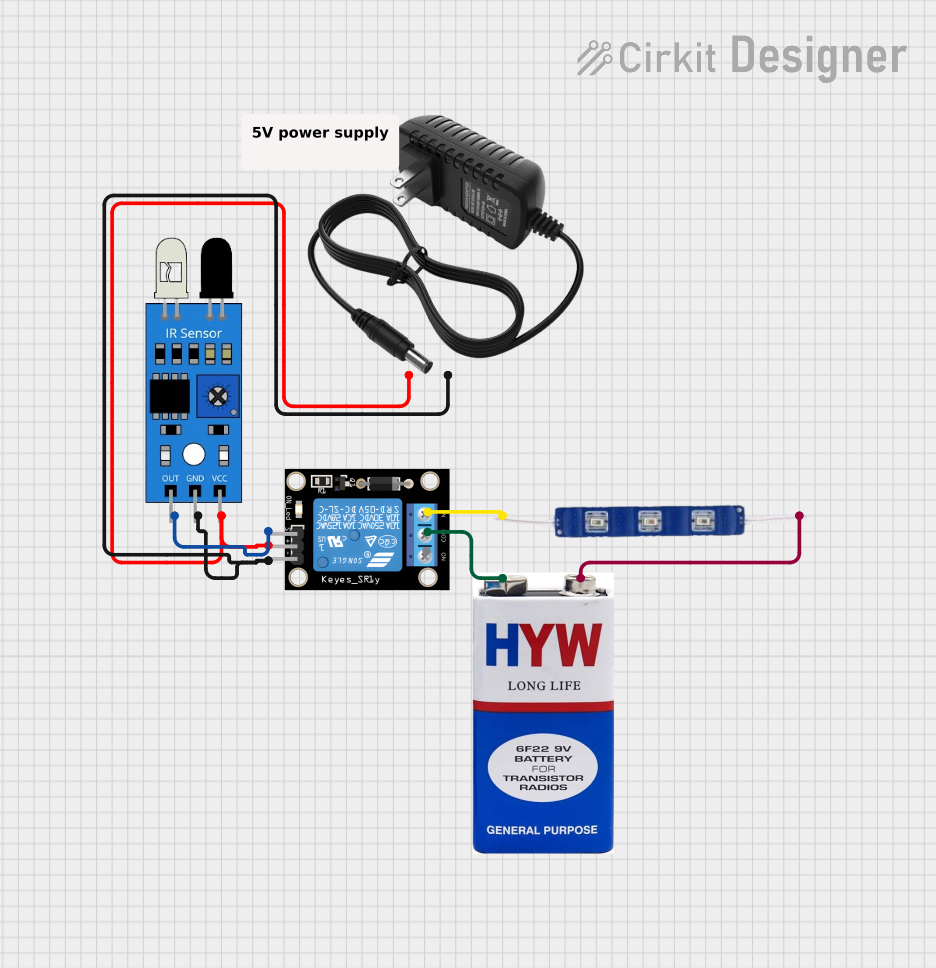
Example: Connecting to an Arduino UNO
The Lampu LED Biru 12V can be controlled using an Arduino UNO. Below is an example of how to connect and control the LED:
Circuit Setup
- Connect the anode (+) of the LED to a 12V external power supply.
- Connect the cathode (-) of the LED to a 330-ohm resistor, and then to a transistor's collector pin (e.g., NPN transistor like 2N2222).
- Connect the transistor's emitter pin to the ground (GND).
- Connect the transistor's base pin to an Arduino digital pin (e.g., pin 9) through a 1k-ohm resistor.
Arduino Code
// This code blinks the Lampu LED Biru 12V on and off every second.
// Ensure the LED is connected to a 12V power supply via a transistor.

const int ledPin = 9; // Pin connected to the transistor's base

void setup() {
  pinMode(ledPin, OUTPUT); // Set the pin as an output
}

void loop() {
  digitalWrite(ledPin, HIGH); // Turn the LED on
  delay(1000);                // Wait for 1 second
  digitalWrite(ledPin, LOW);  // Turn the LED off
  delay(1000);                // Wait for 1 second
}
Note: The Arduino cannot directly power the 12V LED. A transistor is used as a switch to control the LED with the Arduino.
Troubleshooting and FAQs
Common Issues and Solutions
LED Does Not Light Up:
Cause: Incorrect polarity.
Solution: Verify the anode (+) and cathode (-) connections.
Cause: Insufficient voltage.
Solution: Ensure the power supply provides a stable 12V DC.
LED Flickers:
- Cause: Unstable power supply.
- Solution: Use a regulated 12V DC power source.
LED Overheats:
- Cause: Prolonged use in an enclosed space.
- Solution: Improve ventilation or reduce usage duration.
Dim Light Output:
- Cause: Voltage drop due to long wires or poor connections.
- Solution: Use shorter wires and ensure secure connections.
FAQs
Q: Can I use the Lampu LED Biru 12V with a 9V battery?
A: No, the LED is designed for 12V operation. Using a lower voltage may result in dim or no light output.
Q: Do I need an external resistor for this LED?
A: No, the Lampu LED Biru 12V has an internal resistor and can be directly connected to a 12V power source.
Q: Can I connect multiple LEDs in parallel?
A: Yes, but ensure the power supply can handle the total current draw of all LEDs.
Q: Is the LED waterproof?
A: Check the product specifications. Most standard LEDs are not waterproof unless explicitly stated.
By following this documentation, you can effectively use the Lampu LED Biru 12V in your projects and troubleshoot common issues.