
How to Use Servomotor SG90: Examples, Pinouts, and Specs
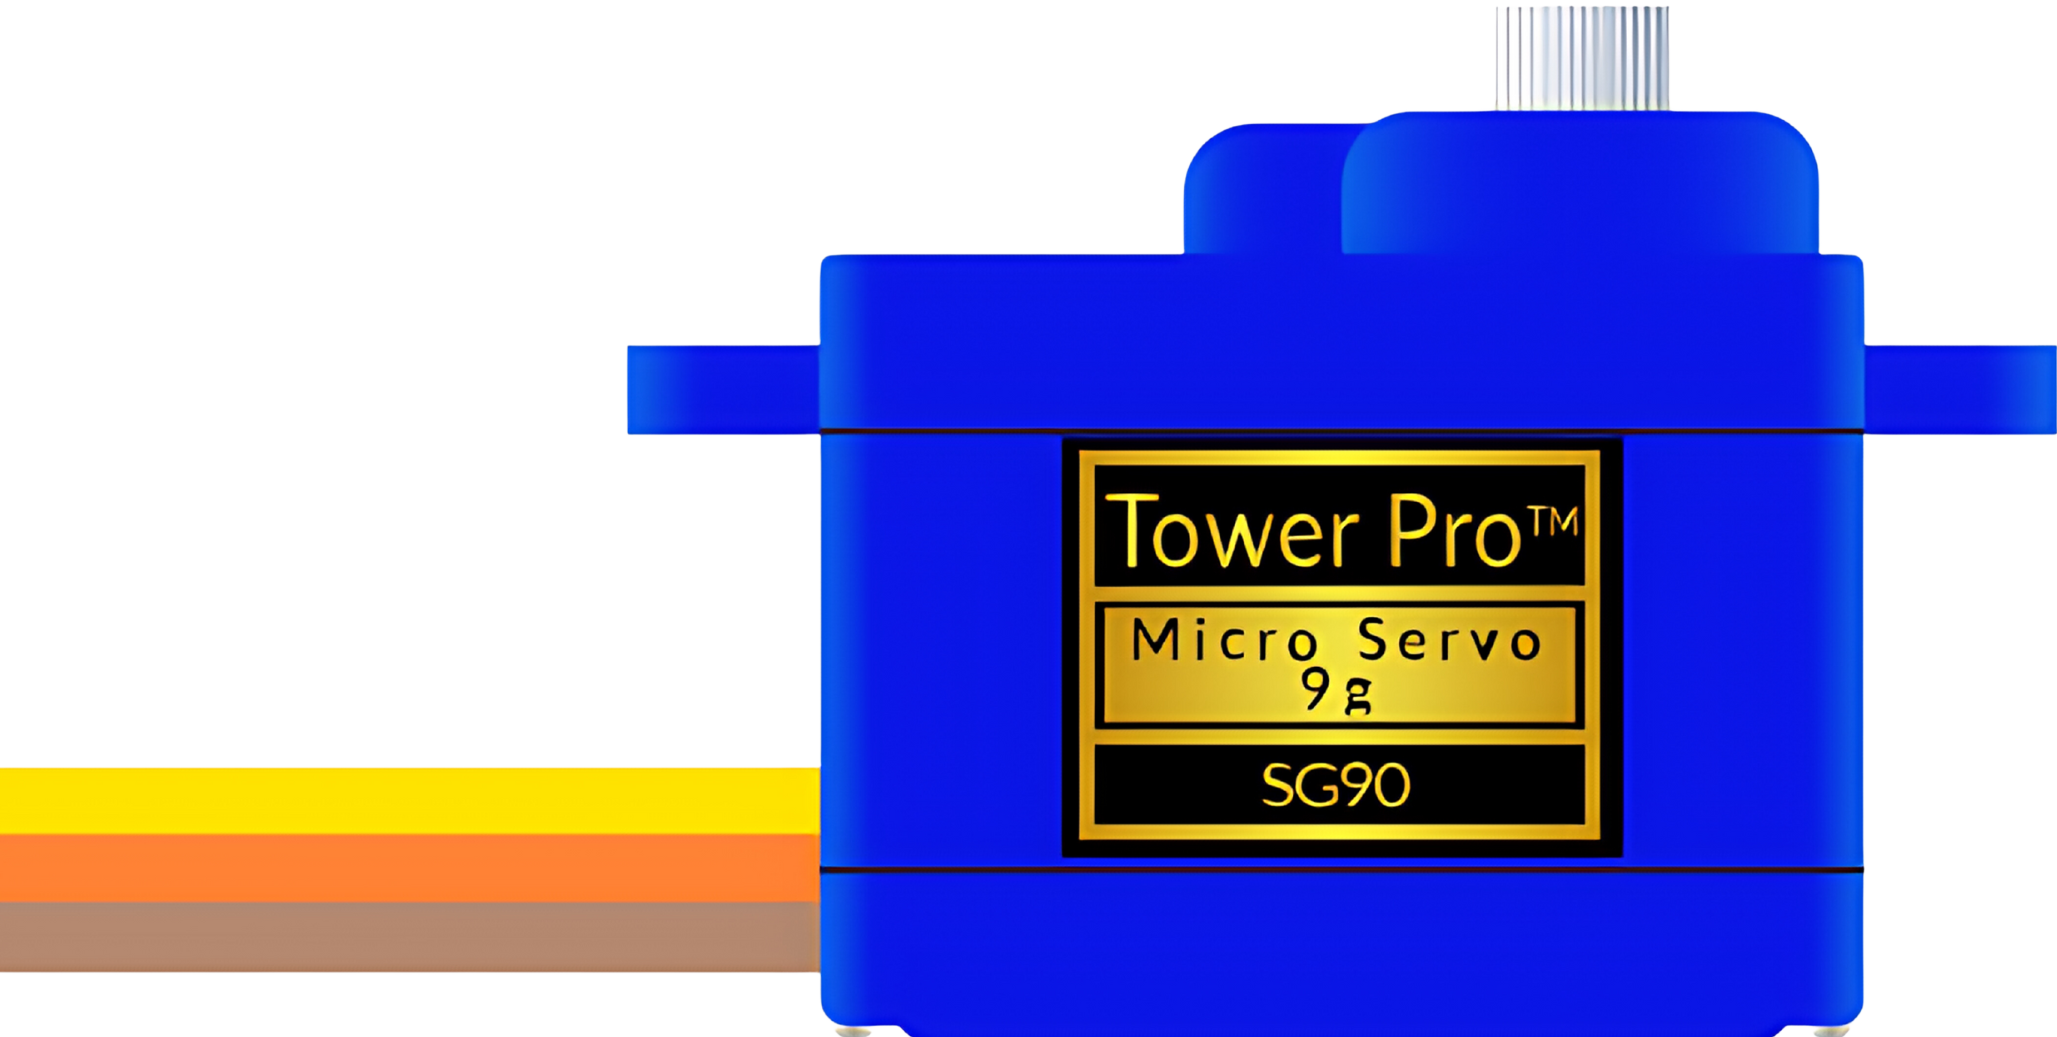
 Design with Servomotor SG90 in Cirkit Designer
Introduction
The SG90 is a compact and lightweight servomotor widely used in the field of robotics and remote-controlled (RC) applications. Its popularity stems from its affordability and its ability to provide precise control of angular position. The SG90 is particularly well-suited for projects that require a simple and efficient method to control motion, such as small robotic arms, RC airplanes, and hobbyist projects.
Explore Projects Built with Servomotor SG90
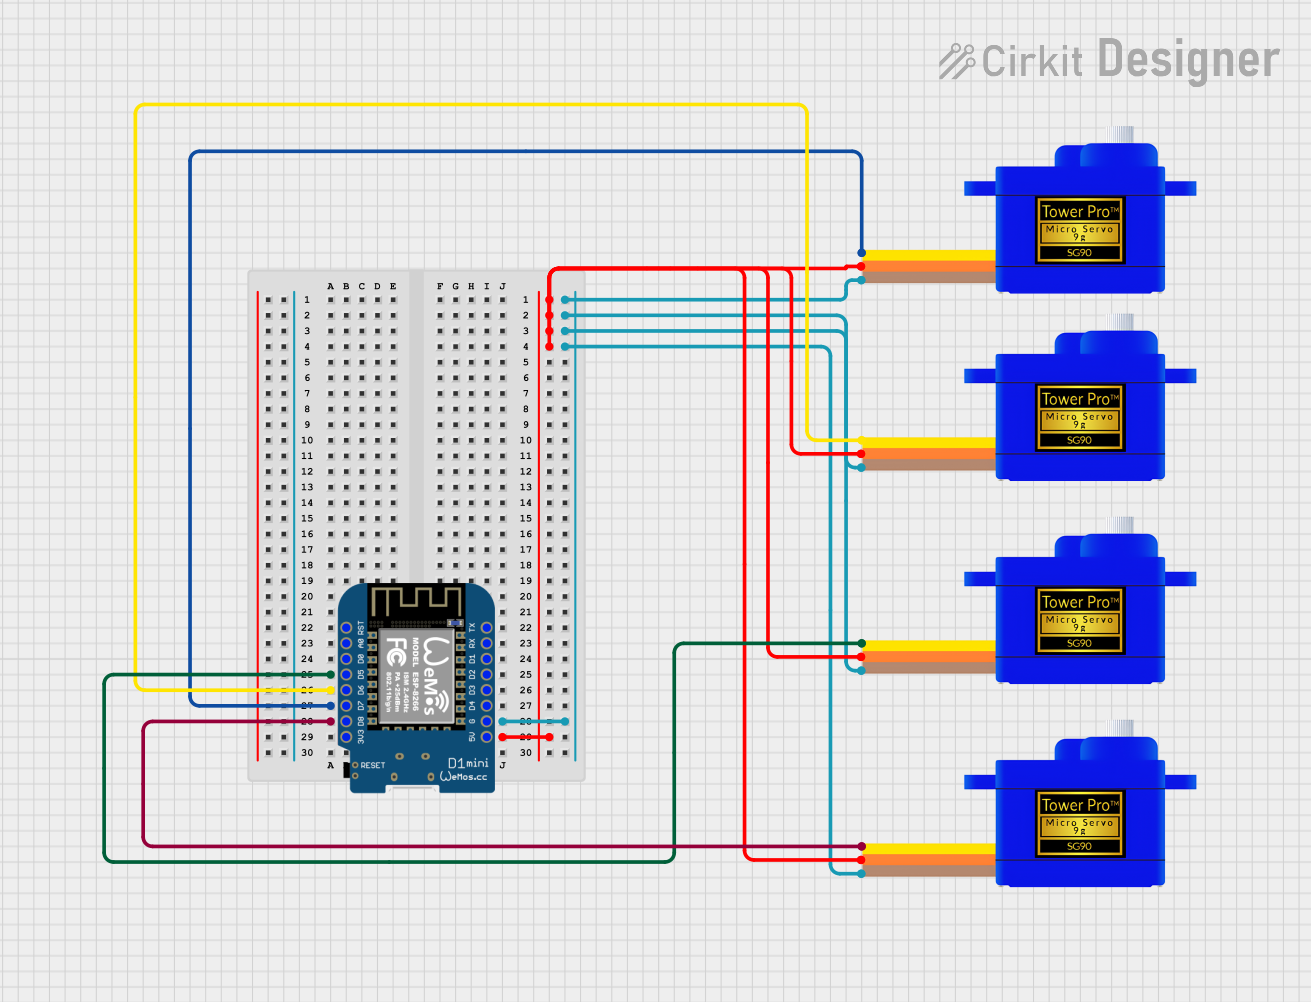
 Open Project in Cirkit Designer
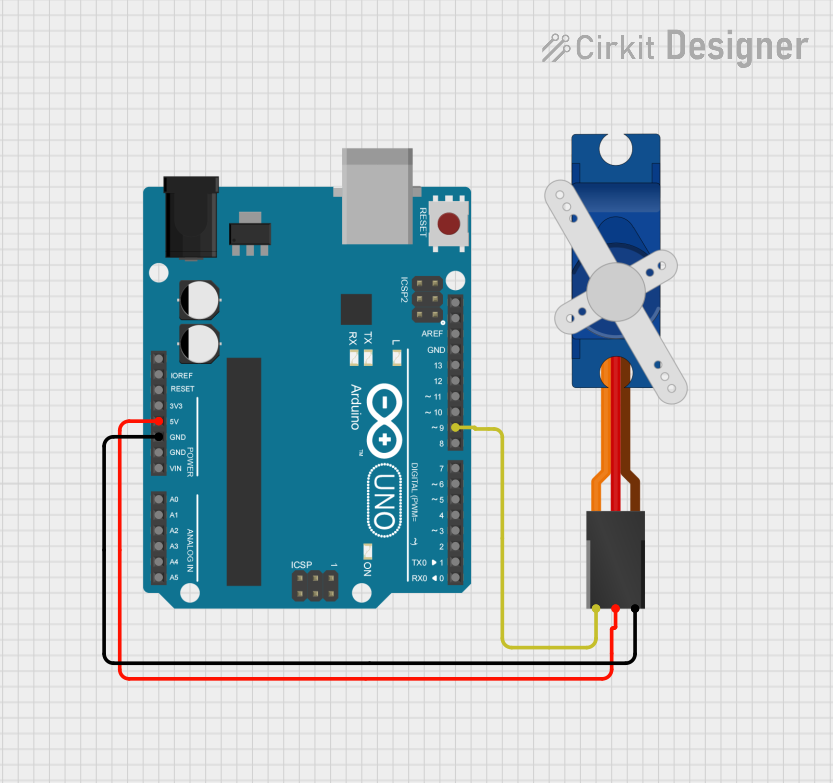
 Open Project in Cirkit Designer
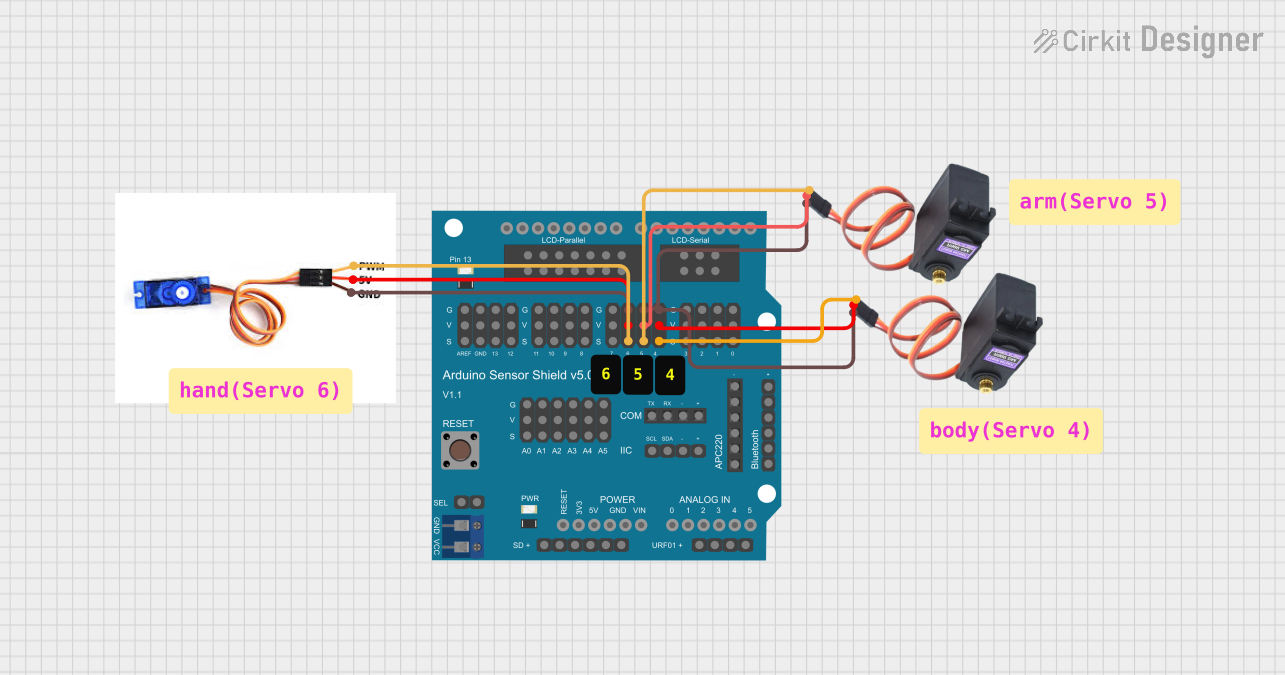
 Open Project in Cirkit Designer
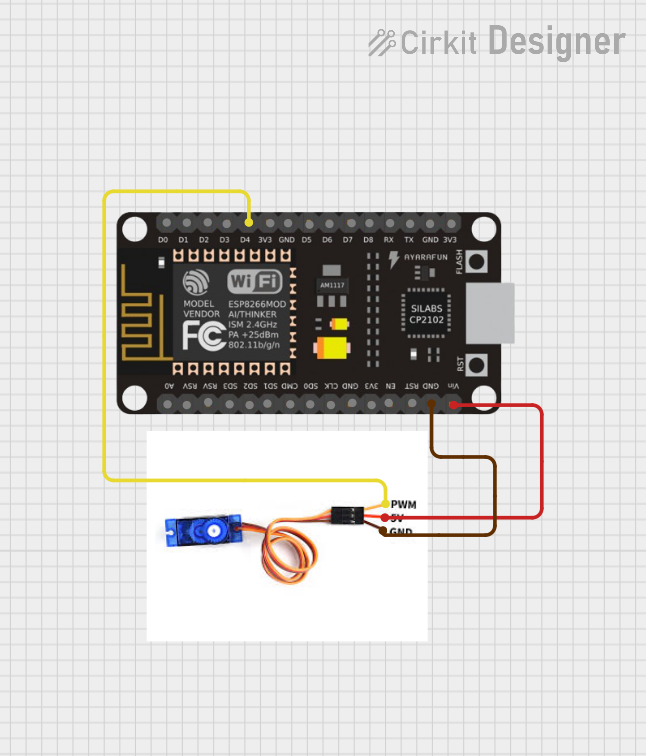
 Open Project in Cirkit Designer
Explore Projects Built with Servomotor SG90

 Open Project in Cirkit Designer
 Open Project in Cirkit Designer
 Open Project in Cirkit Designer
 Open Project in Cirkit Designer
Common Applications and Use Cases
- Robotic arms and grippers
- RC airplanes, helicopters, and cars
- Camera pan/tilt systems
- Positioning of sensors or antennas
- Educational projects and prototyping
Technical Specifications
Key Technical Details
- Voltage: 4.8V to 6.0V
- Current: 750mA (no load at 4.8V)
- Stall Torque: 1.5 kg-cm at 4.8V, 1.8 kg-cm at 6V
- Operating Speed: 0.12 sec/60° at 4.8V, 0.10 sec/60° at 6V
- Temperature Range: -30°C to +60°C
- Weight: 9g
- Dimensions: 22.2 x 11.8 x 31 mm (LxWxH)
Pin Configuration and Descriptions
| Pin Number | Color | Description |
|---|---|---|
| 1 | Brown | Ground (GND) |
| 2 | Red | Power Supply (VCC) |
| 3 | Orange | Control Signal (PWM) |
Usage Instructions
How to Use the Component in a Circuit
- Power Supply: Connect the red wire to a power supply that is within the servomotor's voltage range (4.8V to 6.0V).
- Ground: Connect the brown wire to the ground of your power supply and microcontroller.
- Control Signal: Connect the orange wire to a PWM-capable pin on your microcontroller.
Important Considerations and Best Practices
- Ensure that the power supply can handle the current requirements of the servomotor, especially under load.
- Avoid stalling the servomotor for extended periods, as this can lead to overheating and damage.
- Use a decoupling capacitor (e.g., 100µF) between VCC and GND near the motor to stabilize the power supply.
- When controlling multiple servomotors, consider using an external power supply to prevent overloading the microcontroller's voltage regulator.
Example Code for Arduino UNO
#include <Servo.h>

Servo myservo;  // create servo object to control the SG90

void setup() {
  myservo.attach(9); // attaches the servo on pin 9 to the servo object
}

void loop() {
  myservo.write(90);  // sets the servo to mid-position (90 degrees)
  delay(1000);        // waits for a second
  myservo.write(0);   // moves the servo to position 0 degrees
  delay(1000);        // waits for a second
  myservo.write(180); // moves the servo to position 180 degrees
  delay(1000);        // waits for a second
}
Troubleshooting and FAQs
Common Issues Users Might Face
- Servomotor does not move: Check the power supply and connections. Ensure the control signal is correctly connected to a PWM pin.
- Erratic movement or jitter: This can be caused by an inadequate power supply or electrical noise. Use a decoupling capacitor and ensure the power supply is stable.
- Overheating: If the servomotor is stalling or under a heavy load, it may overheat. Reduce the load or duty cycle to allow it to cool.
Solutions and Tips for Troubleshooting
- Always verify the wiring and connections before powering up the system.
- Test the servomotor with a simple sweep code to ensure it operates smoothly across its range.
- If using multiple servomotors, distribute the power load and consider using a separate power supply.
FAQs
Q: Can I control the SG90 servomotor with a Raspberry Pi? A: Yes, the SG90 can be controlled with a Raspberry Pi, but you will need to generate PWM signals, which can be done using the GPIO pins and appropriate software libraries.
Q: How precise is the SG90 servomotor? A: The SG90 typically has a resolution of around 5 degrees, but this can vary slightly depending on the specific model and operating conditions.
Q: What is the lifespan of the SG90 servomotor? A: The lifespan depends on the usage conditions, such as load, frequency of operation, and environmental factors. Under normal conditions, the SG90 can last for several years of intermittent use.